Gizmokid2005.com
Organized Chaos!
Ranger A-Pillar Pod Installation & Distribution Box Build
August 11, 2020 @ 13:00 - Michael
One of the requirements I found I would need for off-roading, especially in Southern California, is extra lighting for switchback trails for the corners and drop-offs that exist at the sides of most trails. Plus, while off-road you can never have too much light to help see what you're doing and where you're going.
So, I spent a lot of time looking at what others had done, digging into what I was looking to do in the future, plus what I wanted to get done near-term and came up with a few requirements for whatever I did.
- Must be future-proof (should be able to handle at least 2 more separate circuits).
- Must be waterproof (or near to it) just in case, plus for normal longevity.
- Circuits must all be individually fused with relays.
- The power should not be always hot, should at minimum be ignition sourced (or delayed like cargo lights optimally).
- There should be as little (or *no*) splicing into factory wiring as possible.
- The wiring at the hood for the lights should be an easy pluggable solution so I can replace them in the future without issue if needed.
- Try to be cost efficient (which quickly went out the window roughly mid-build).
Parts List:
- A Pillar brackets: https://fordrangerlifts.com/shop?olsPage=products/a-pillar-ditch-light-brackets-2019-ford-ranger
- ZROADZ Dual Pod bracket: https://smile.amazon.com/gp/product/B01AT5IZAC/
- Lightforce Switch Fascia: https://www.lightforce.com/en_us/lightforce-switch-fascia-to-suit-ford-ranger-everest
- Cutequeen LED Spot lights: https://smile.amazon.com/dp/B00JK8JQSA/
- Waterproof Fuse/Relay box: https://smile.amazon.com/gp/product/B07MR64XK1/
- Micro2 Fuse TAP Add-A-Circuit (I used one sourced locally): https://smile.amazon.com/gp/product/B01LFXA5YQ/
- 2x Hopkins Towing wire connector (1 per side): https://www.oreillyauto.com/detail/b/towing-solutions-3935/agriculture-hd-parts---accessories-19818/fleet---heavy-duty-20088/trailer-plugs---brakes-20099/2-3-4-5-way-flat-connectors--wiring---accessories-18813/6dc2f0216a2d/hopkins-towing-solutions-wire-connector/47965/4379633/2019/ford/ranger?q=47965&pos=0
- 6x Bosch style relays (also sourced locally)
- Various wiring (I used 12 and 16ga for everything) and connectors
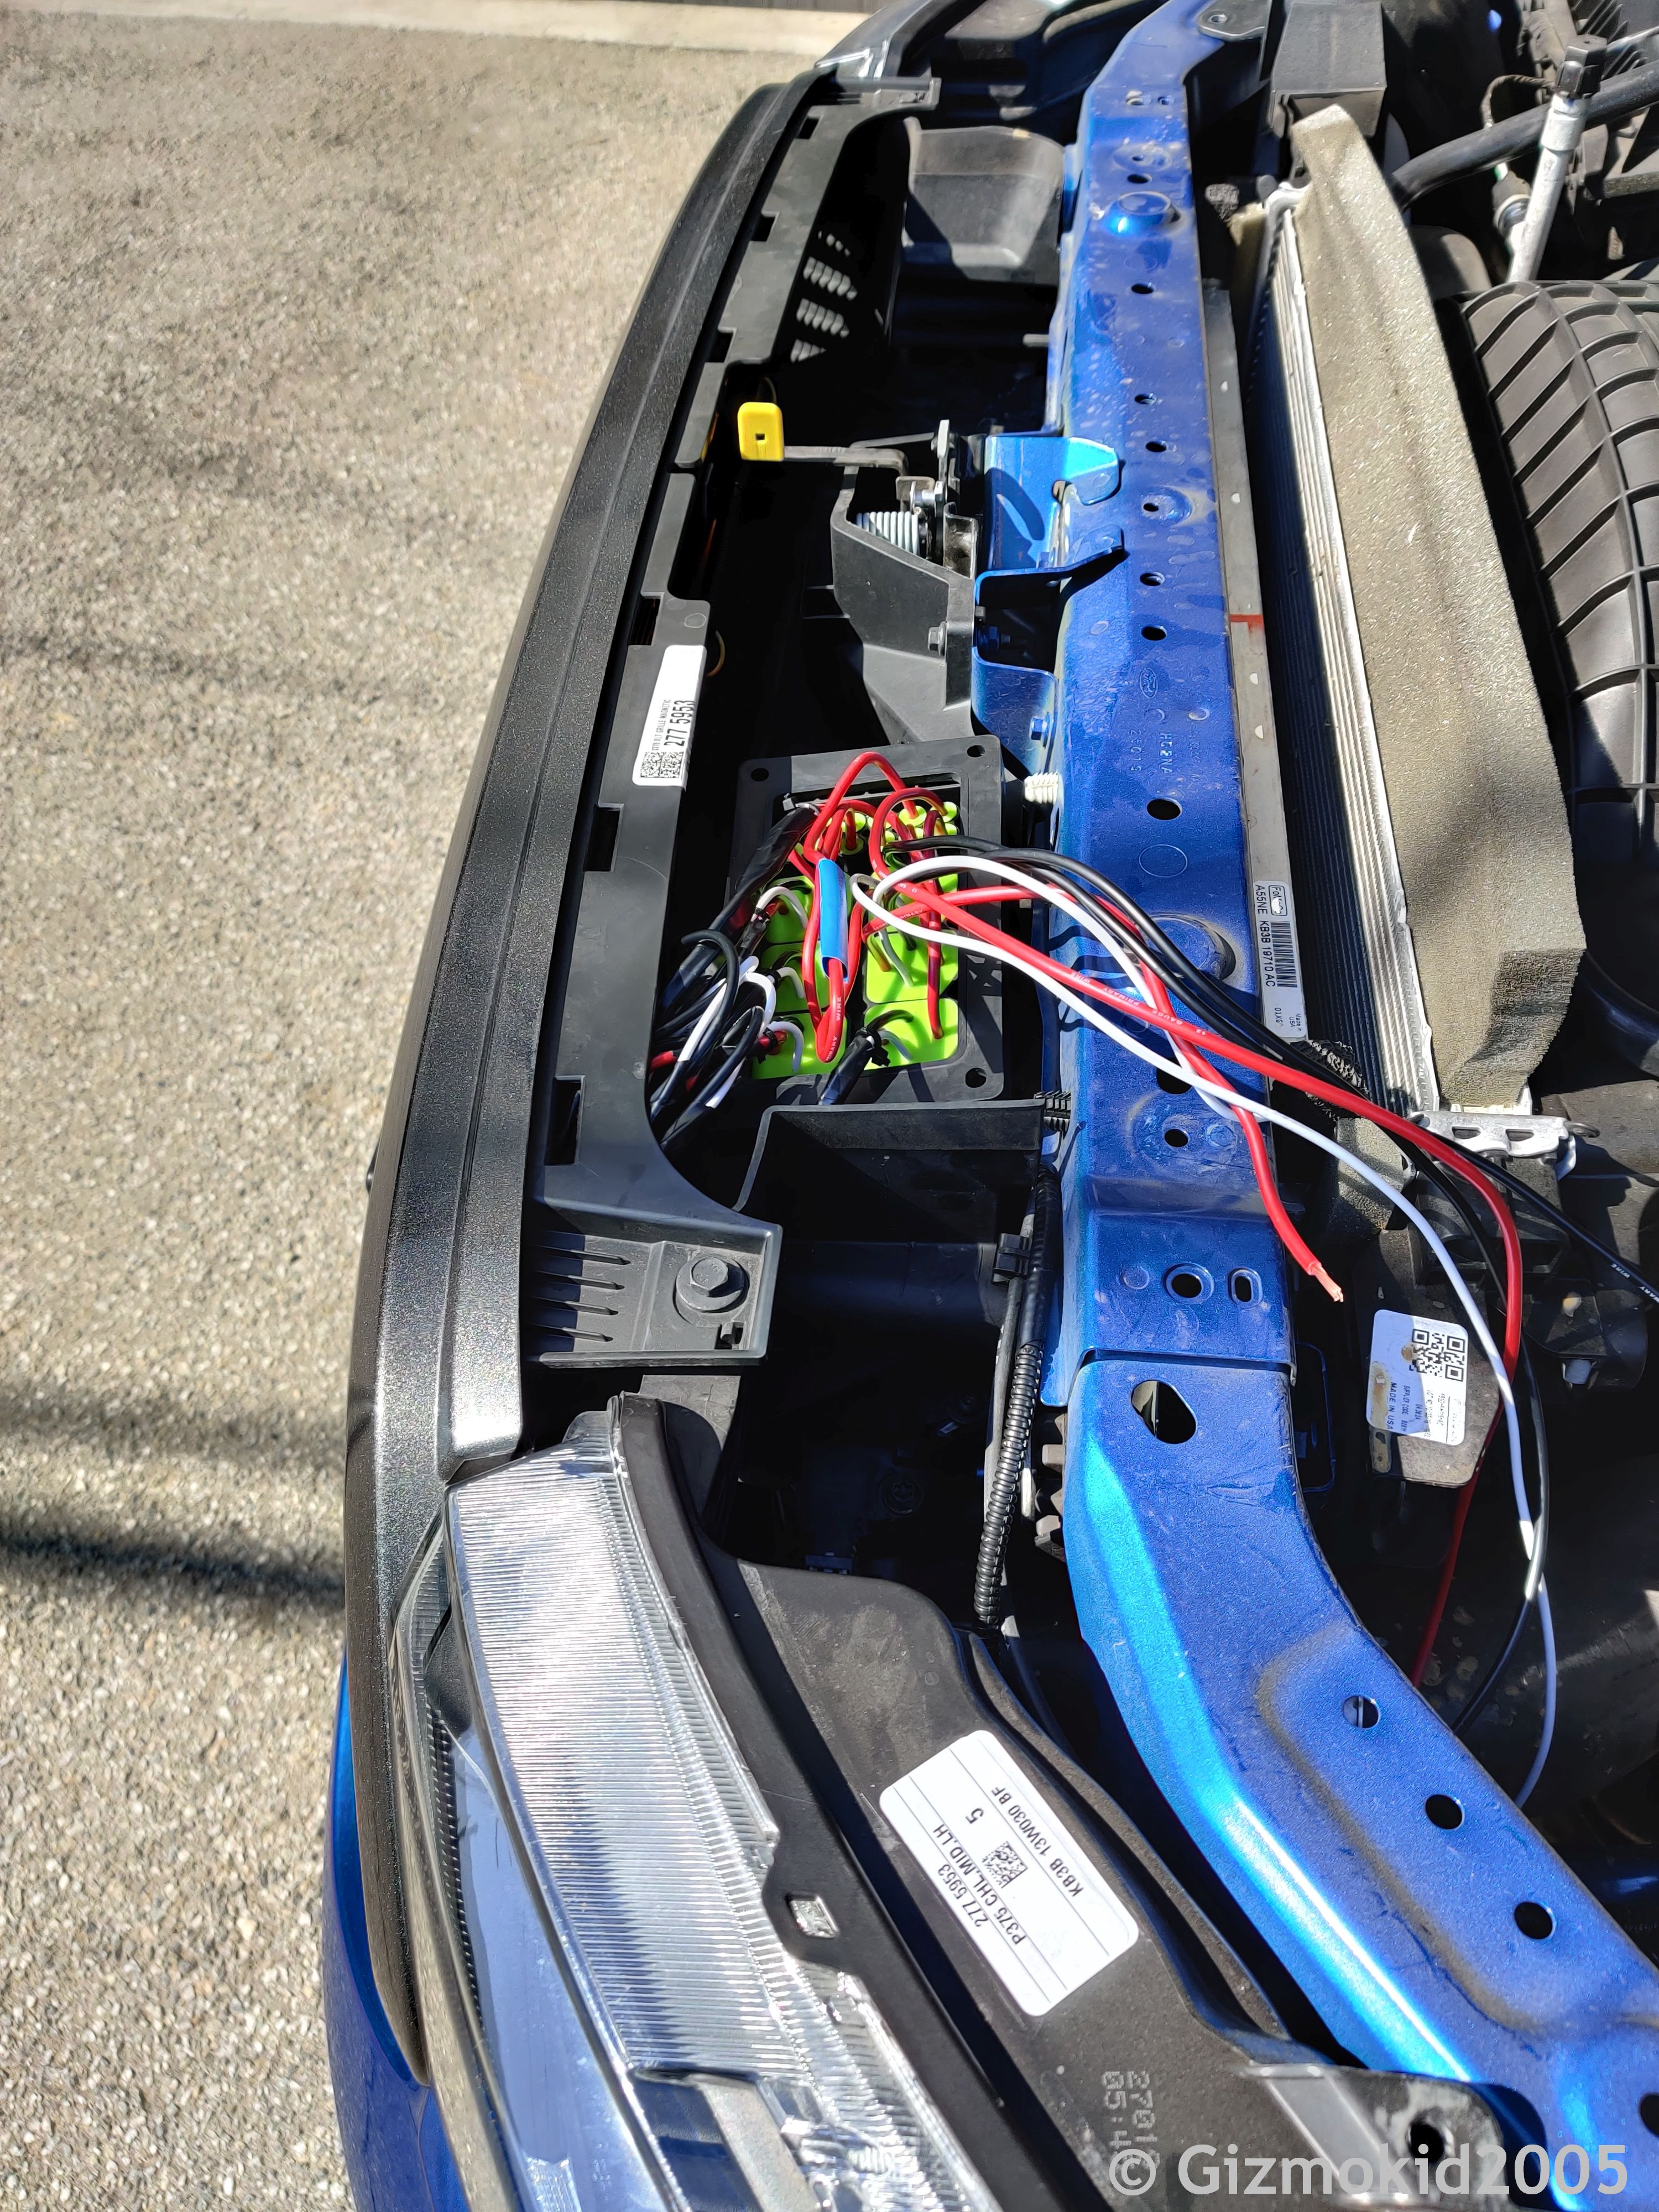
One note I had, the box I got is waterproof, but only once it's full, so I needed to make sure to fill out all of the wiring before I wrapped it up and put it in the truck.
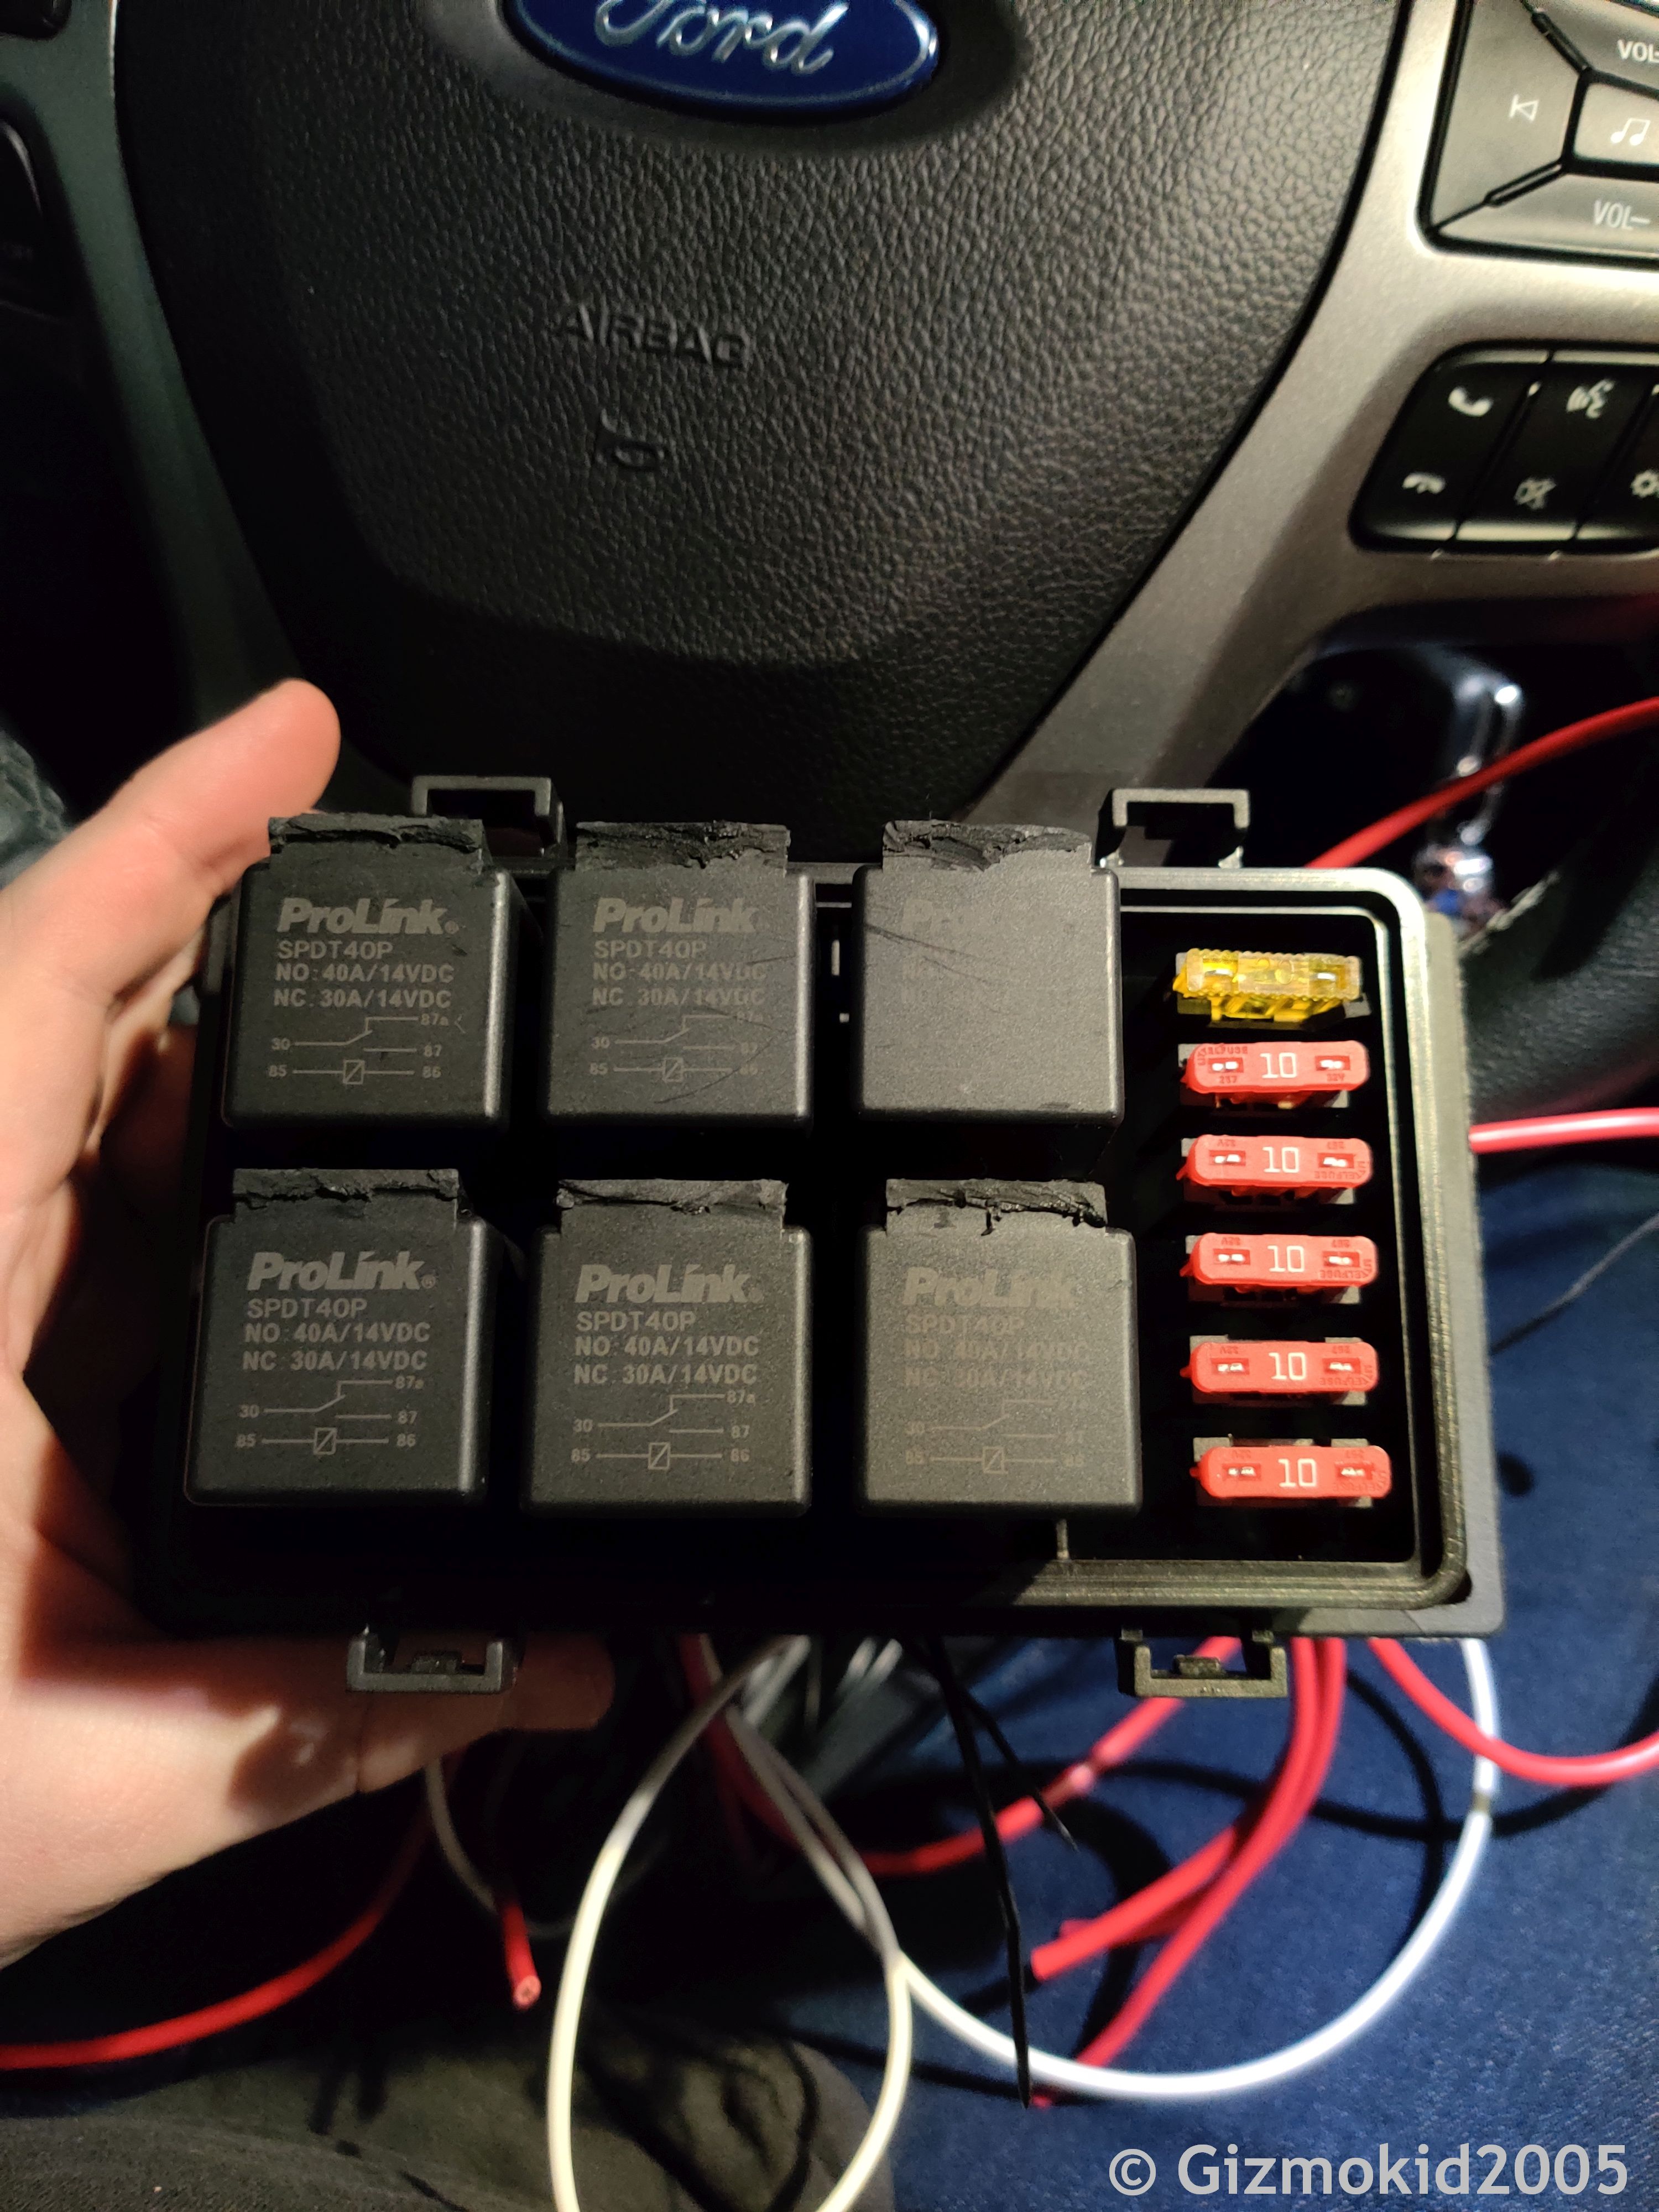
I spent half of a Saturday (late afternoon through the evening) building out the distribution box after sourcing all of the wiring, fuses, relays, heatshrink, connectors, etc. Unfortunately I couldn't find relays without the brackets on them, so I made quick work of them with the Dremel using the inverter in the truck (my garage doesn't have power to it except for the garage door opener, thanks landlord). I spent some time trying to figure out how I was going to make the main power relay waterproof before I had the bright idea of just using one of the circuits in the box itself for the main circuit.
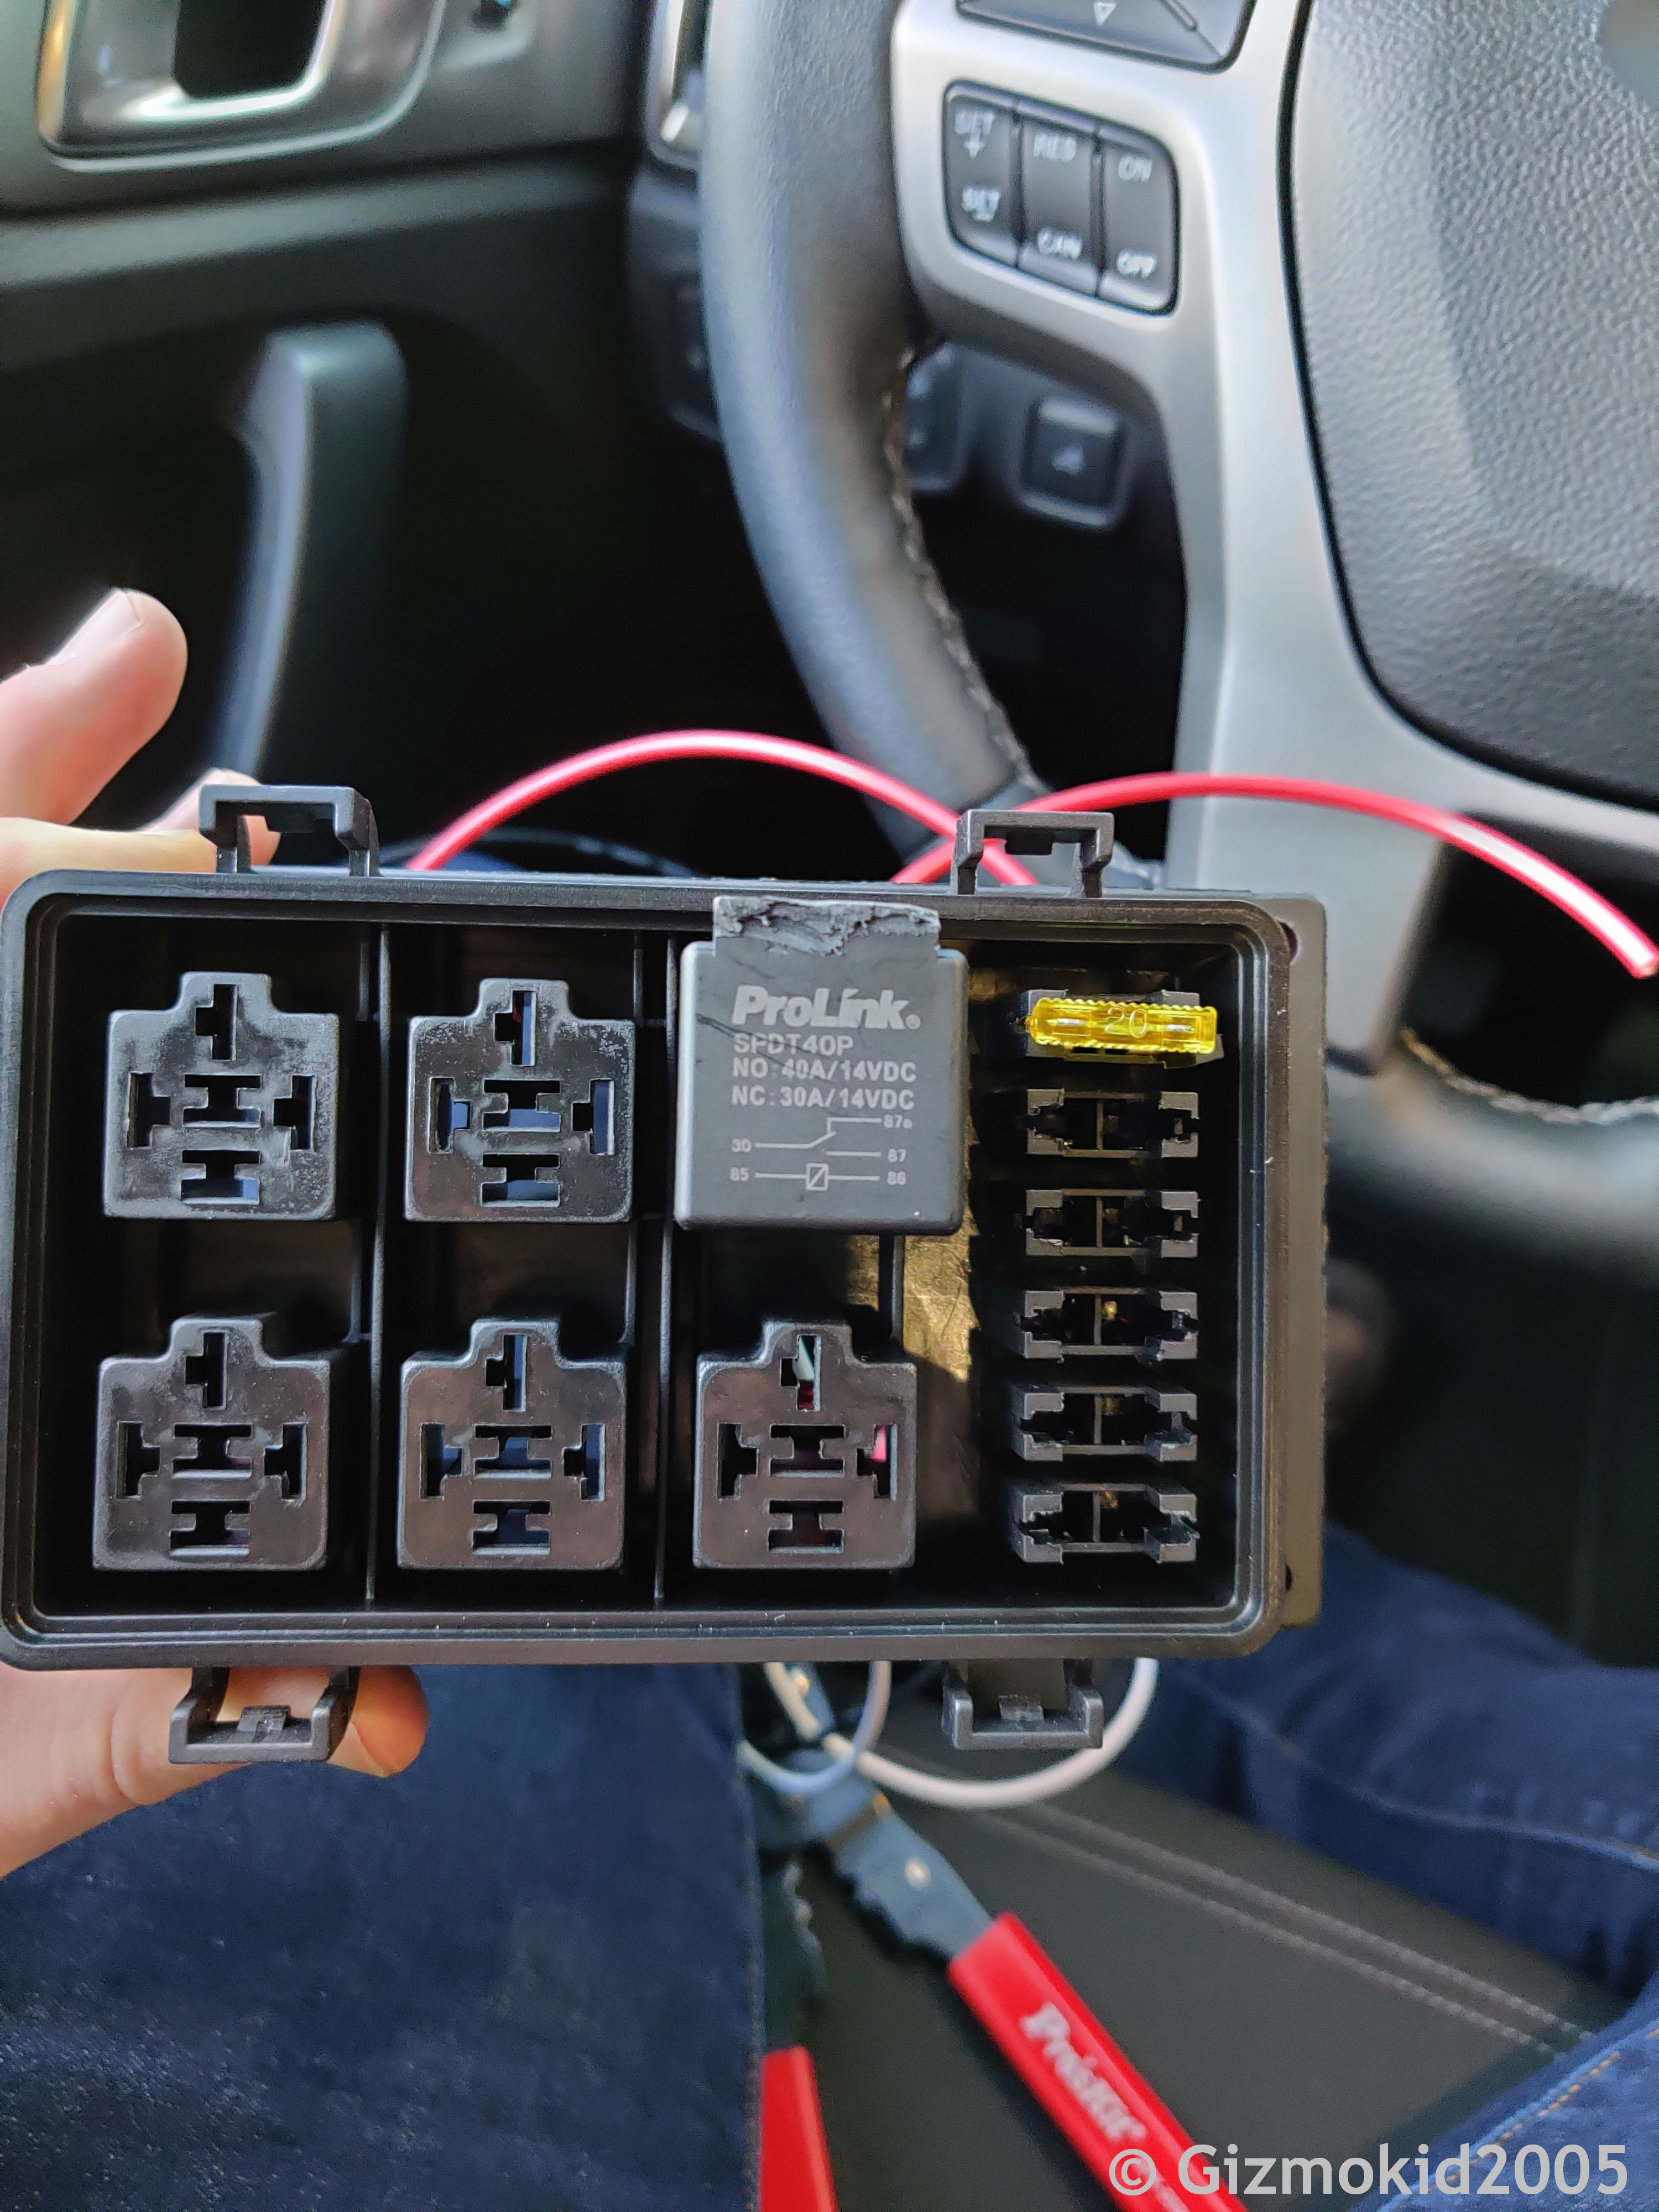

I only put in a 20A fuse for the main circuit, all the others got 10A fuses. The main power is 12GA as is the power running out of the main relay and the ground. Right now, I don't have any kind of bus bar to distribute this power to more than one other relay, that's a future Gizmo problem to solve.
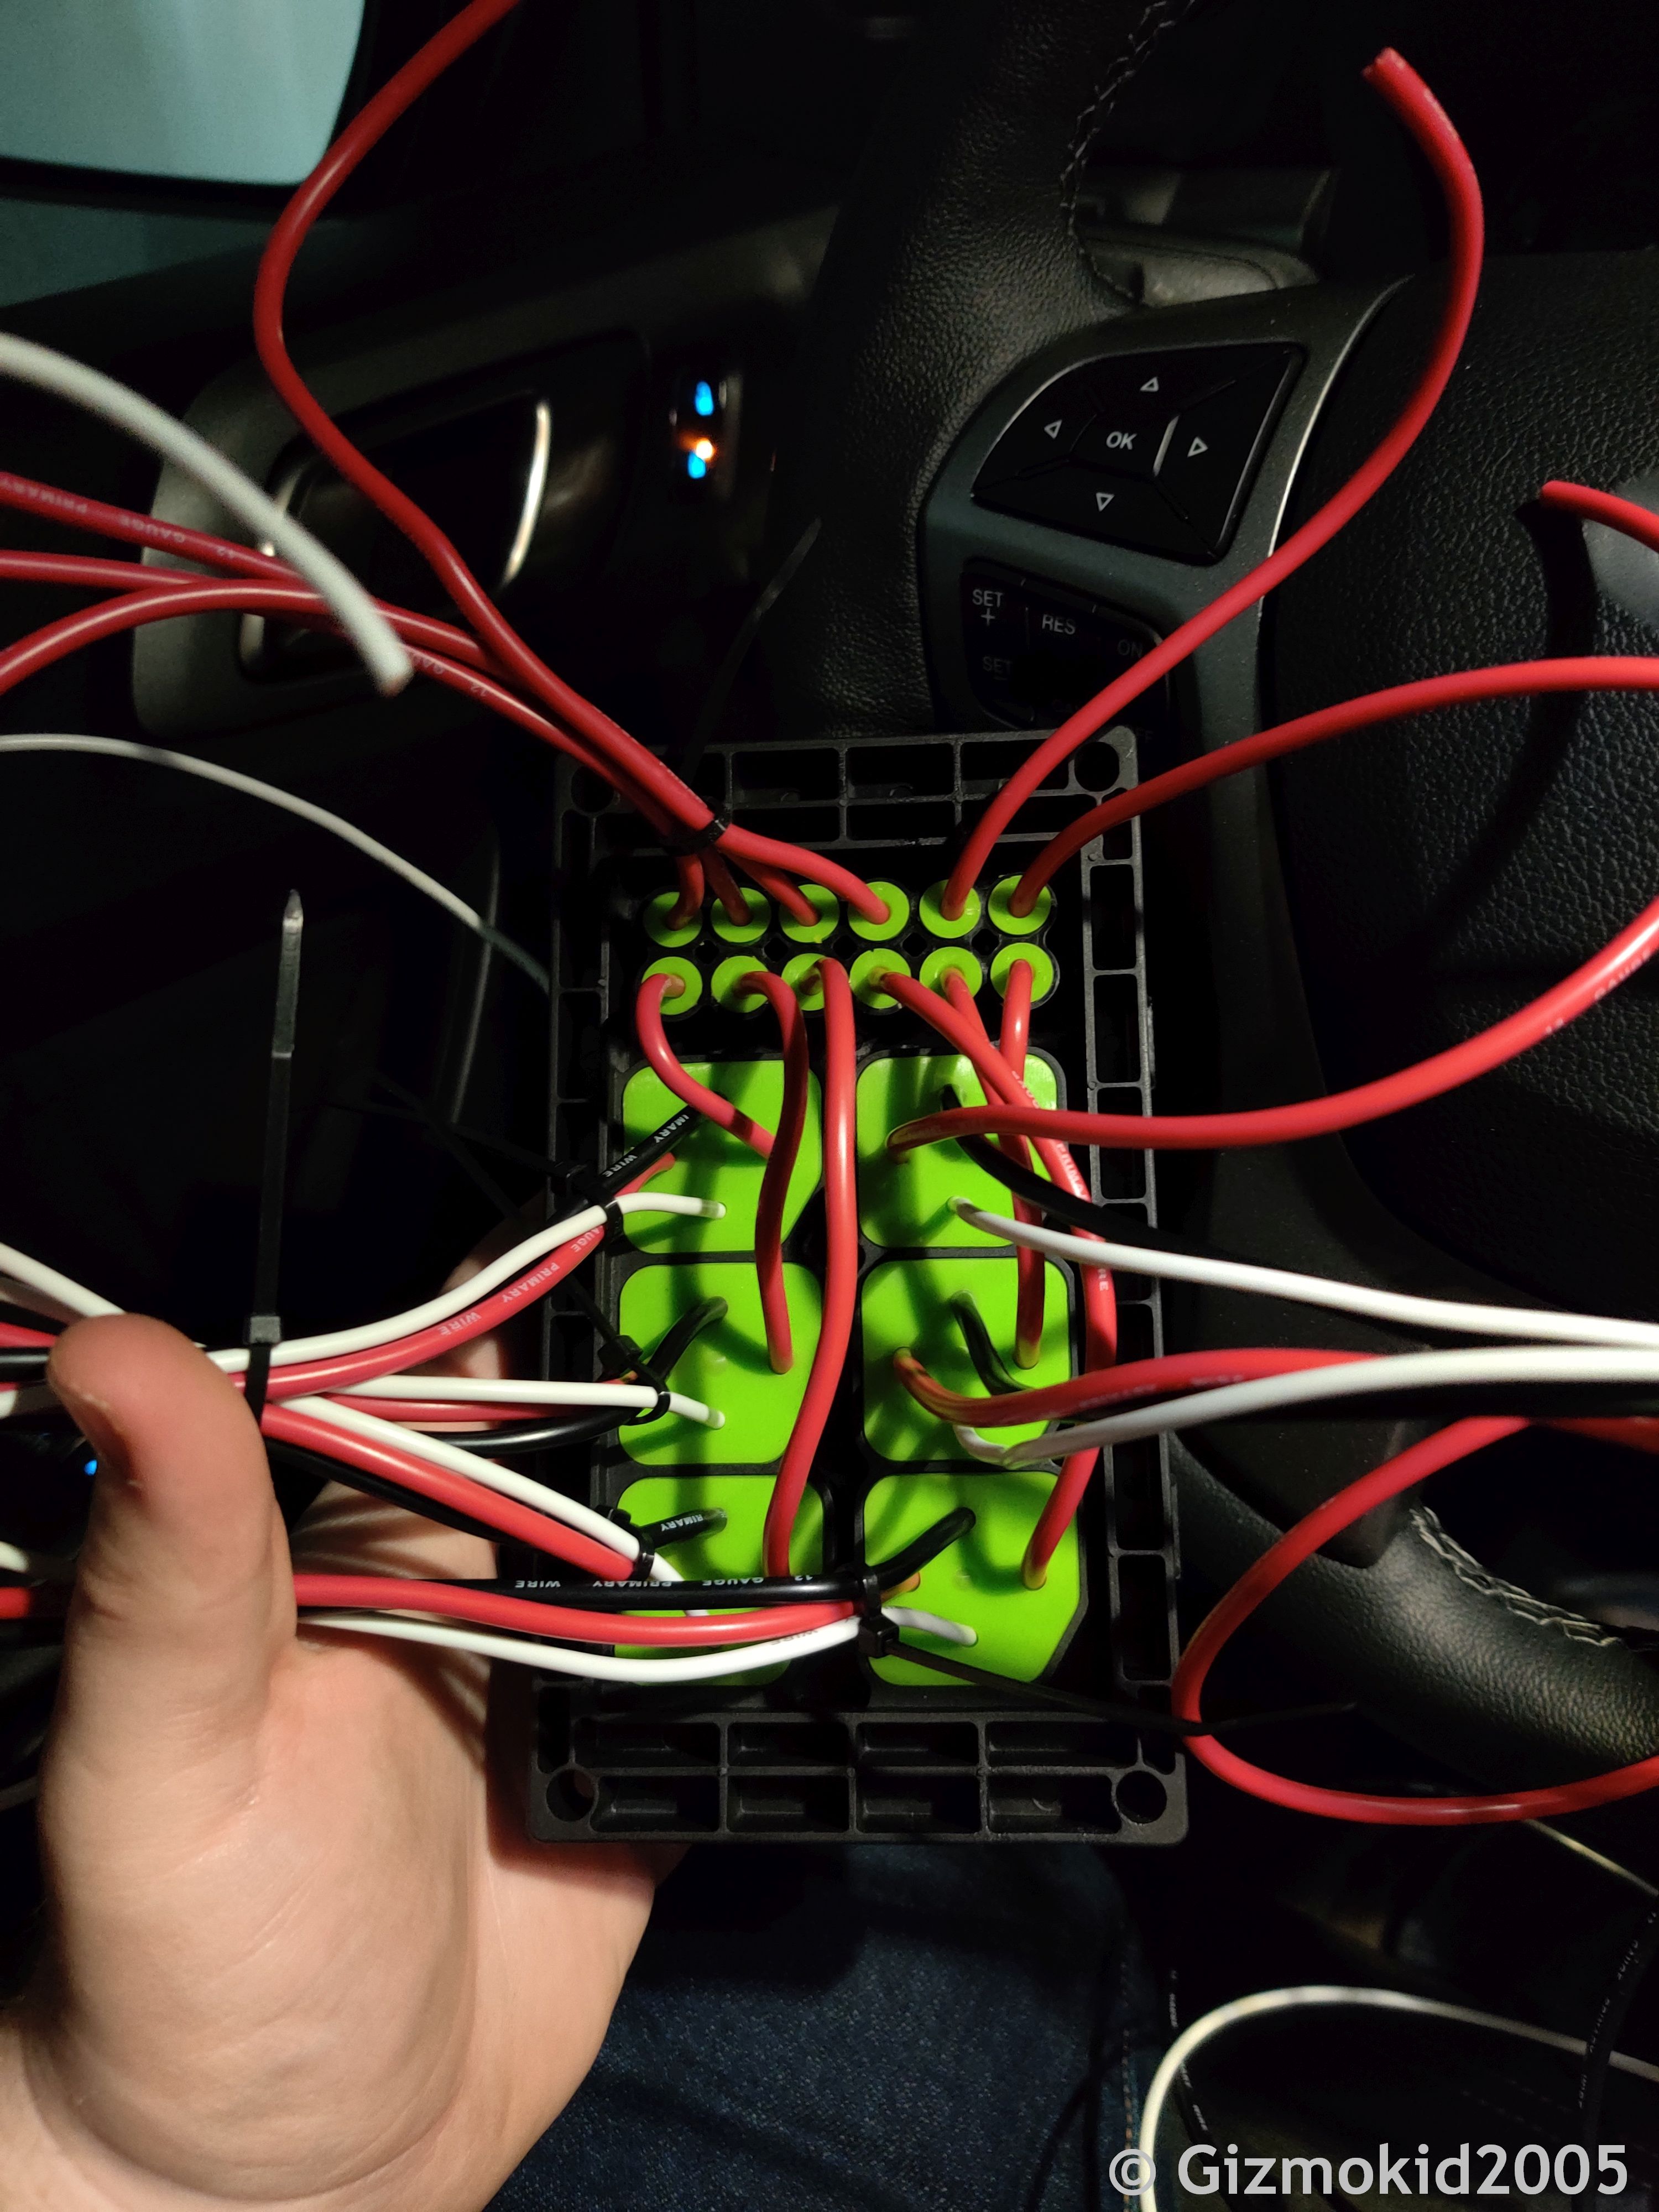
Most of this wiring was getting tucked away for future use, but as I said, required to waterproof the box itself. I wired the main relay output right into the input for the relay I was using for these pod lights. And after much deliberation of where to put it, I decided that under the front plastic cover above the grille was the best place. I currently don't have any mounts to hold it there, but that's on my list to find somewhere to help fab something up really quickly.
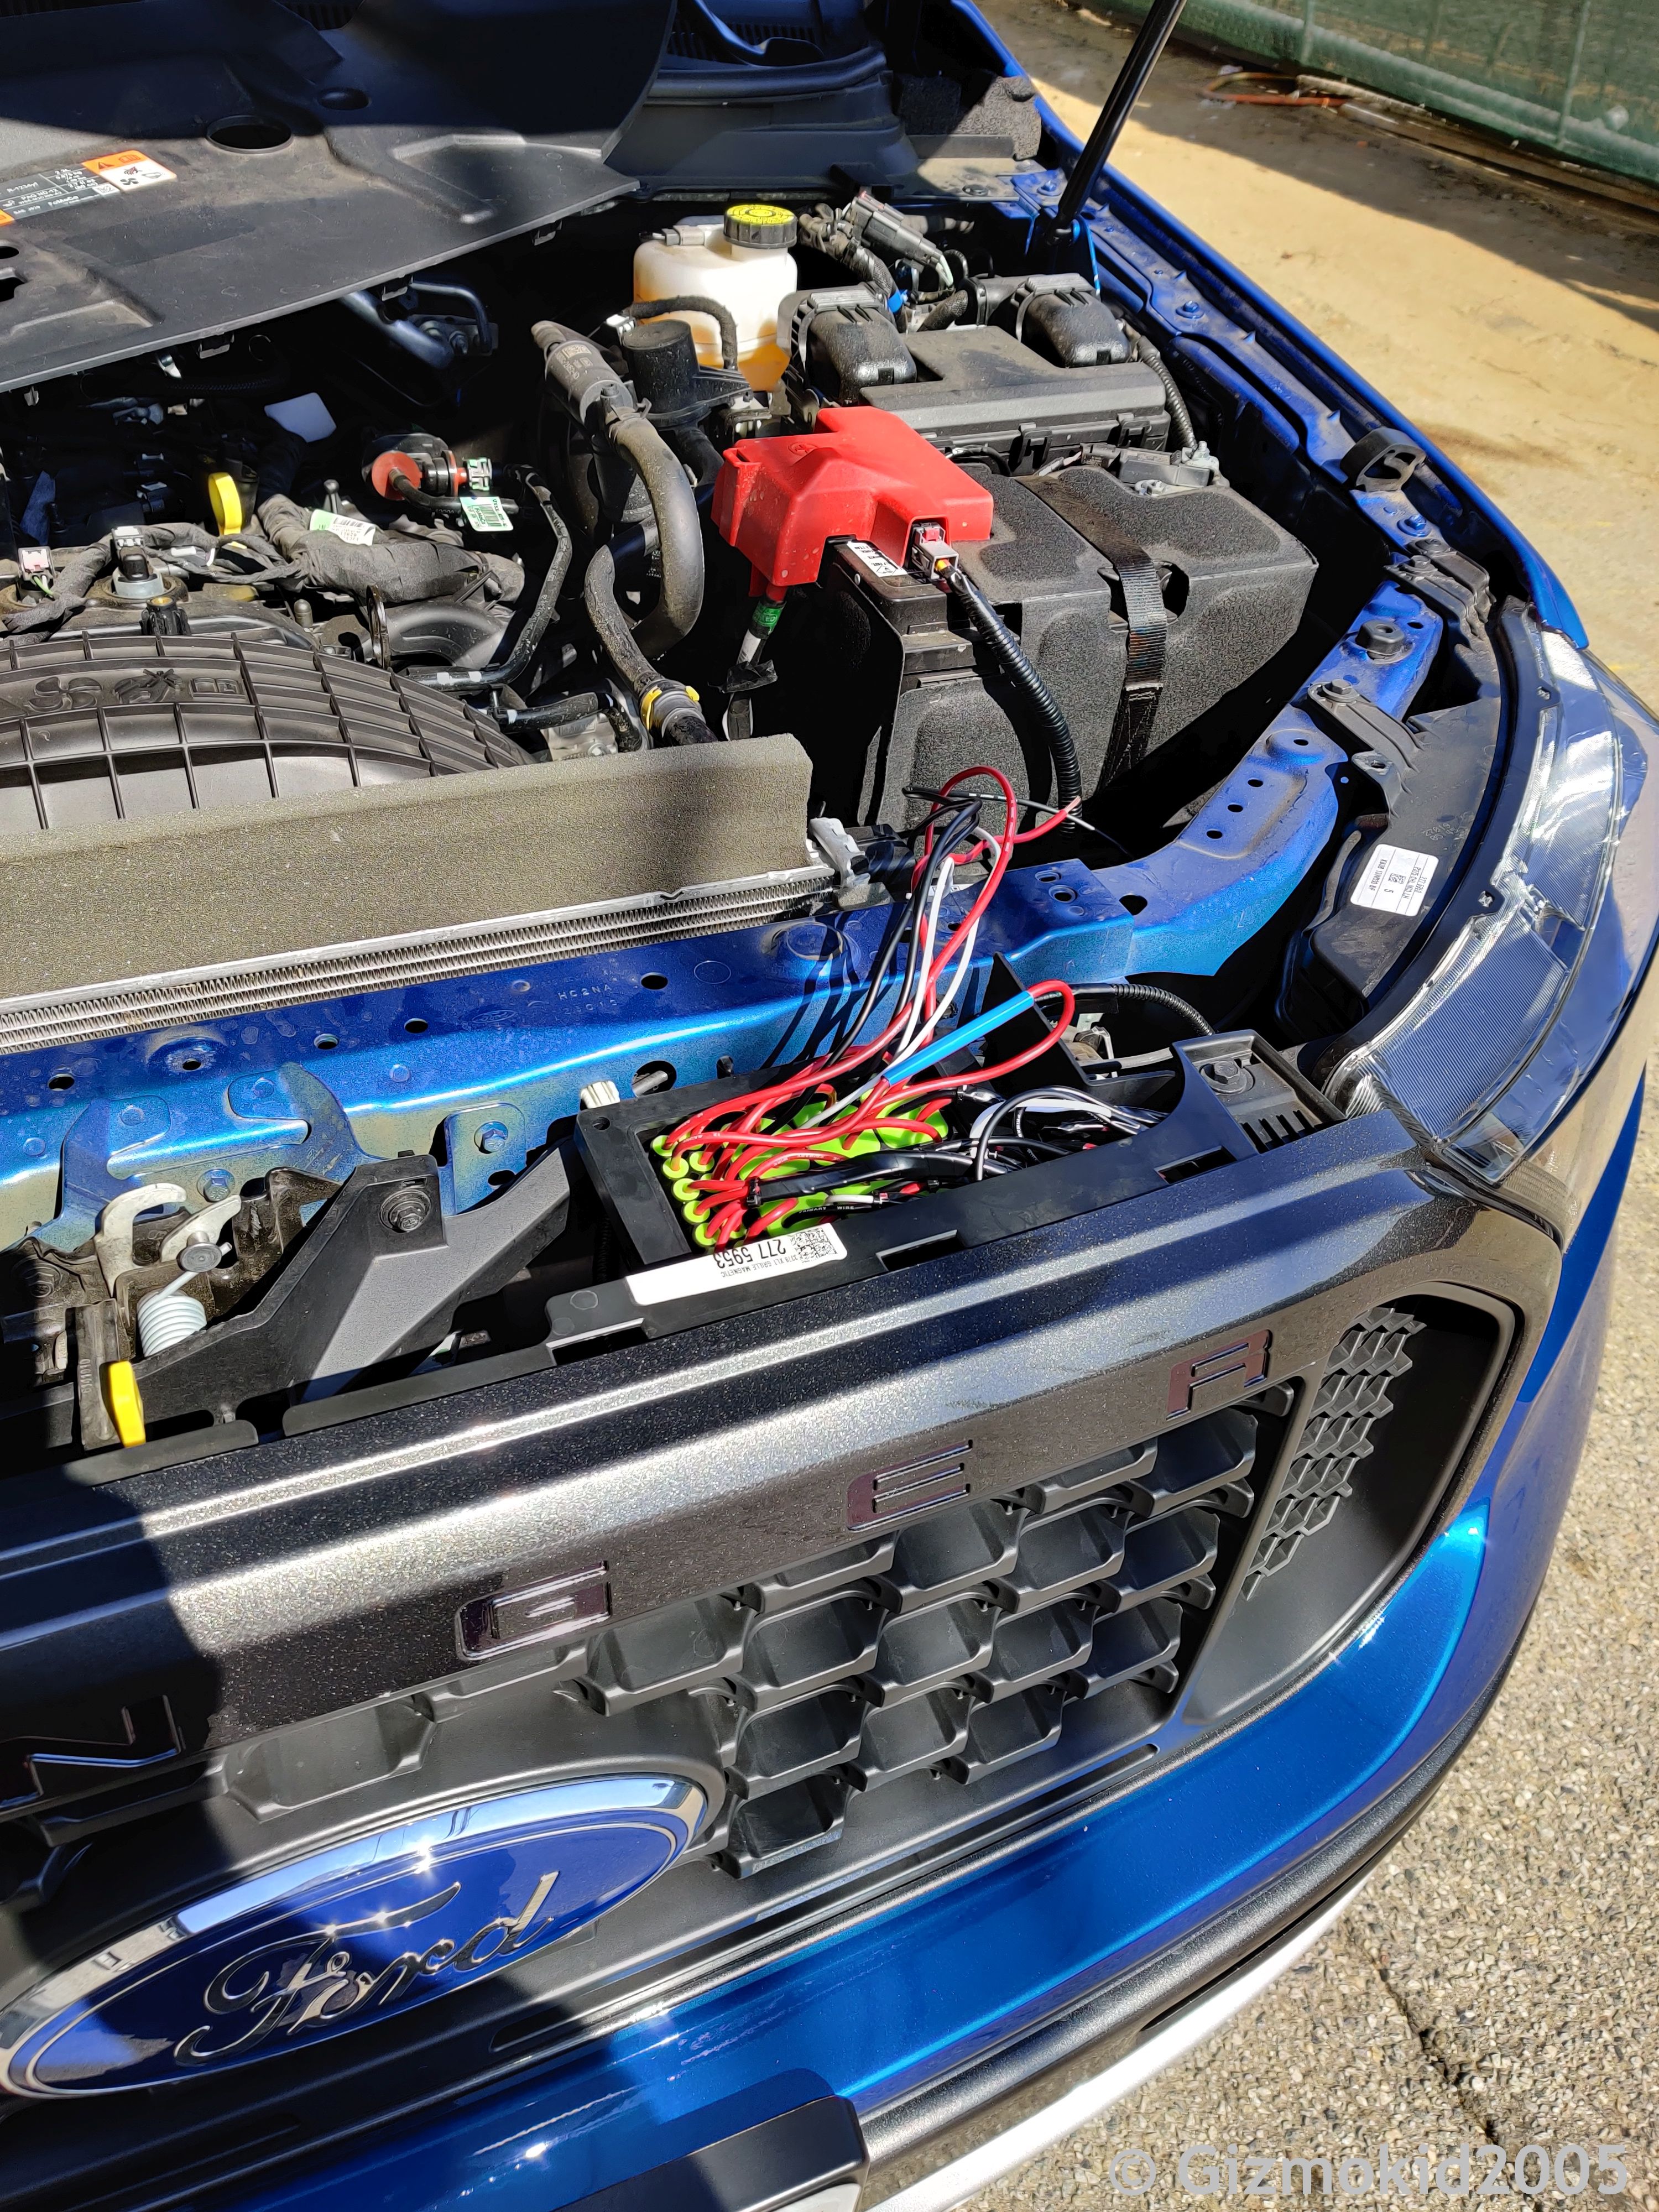
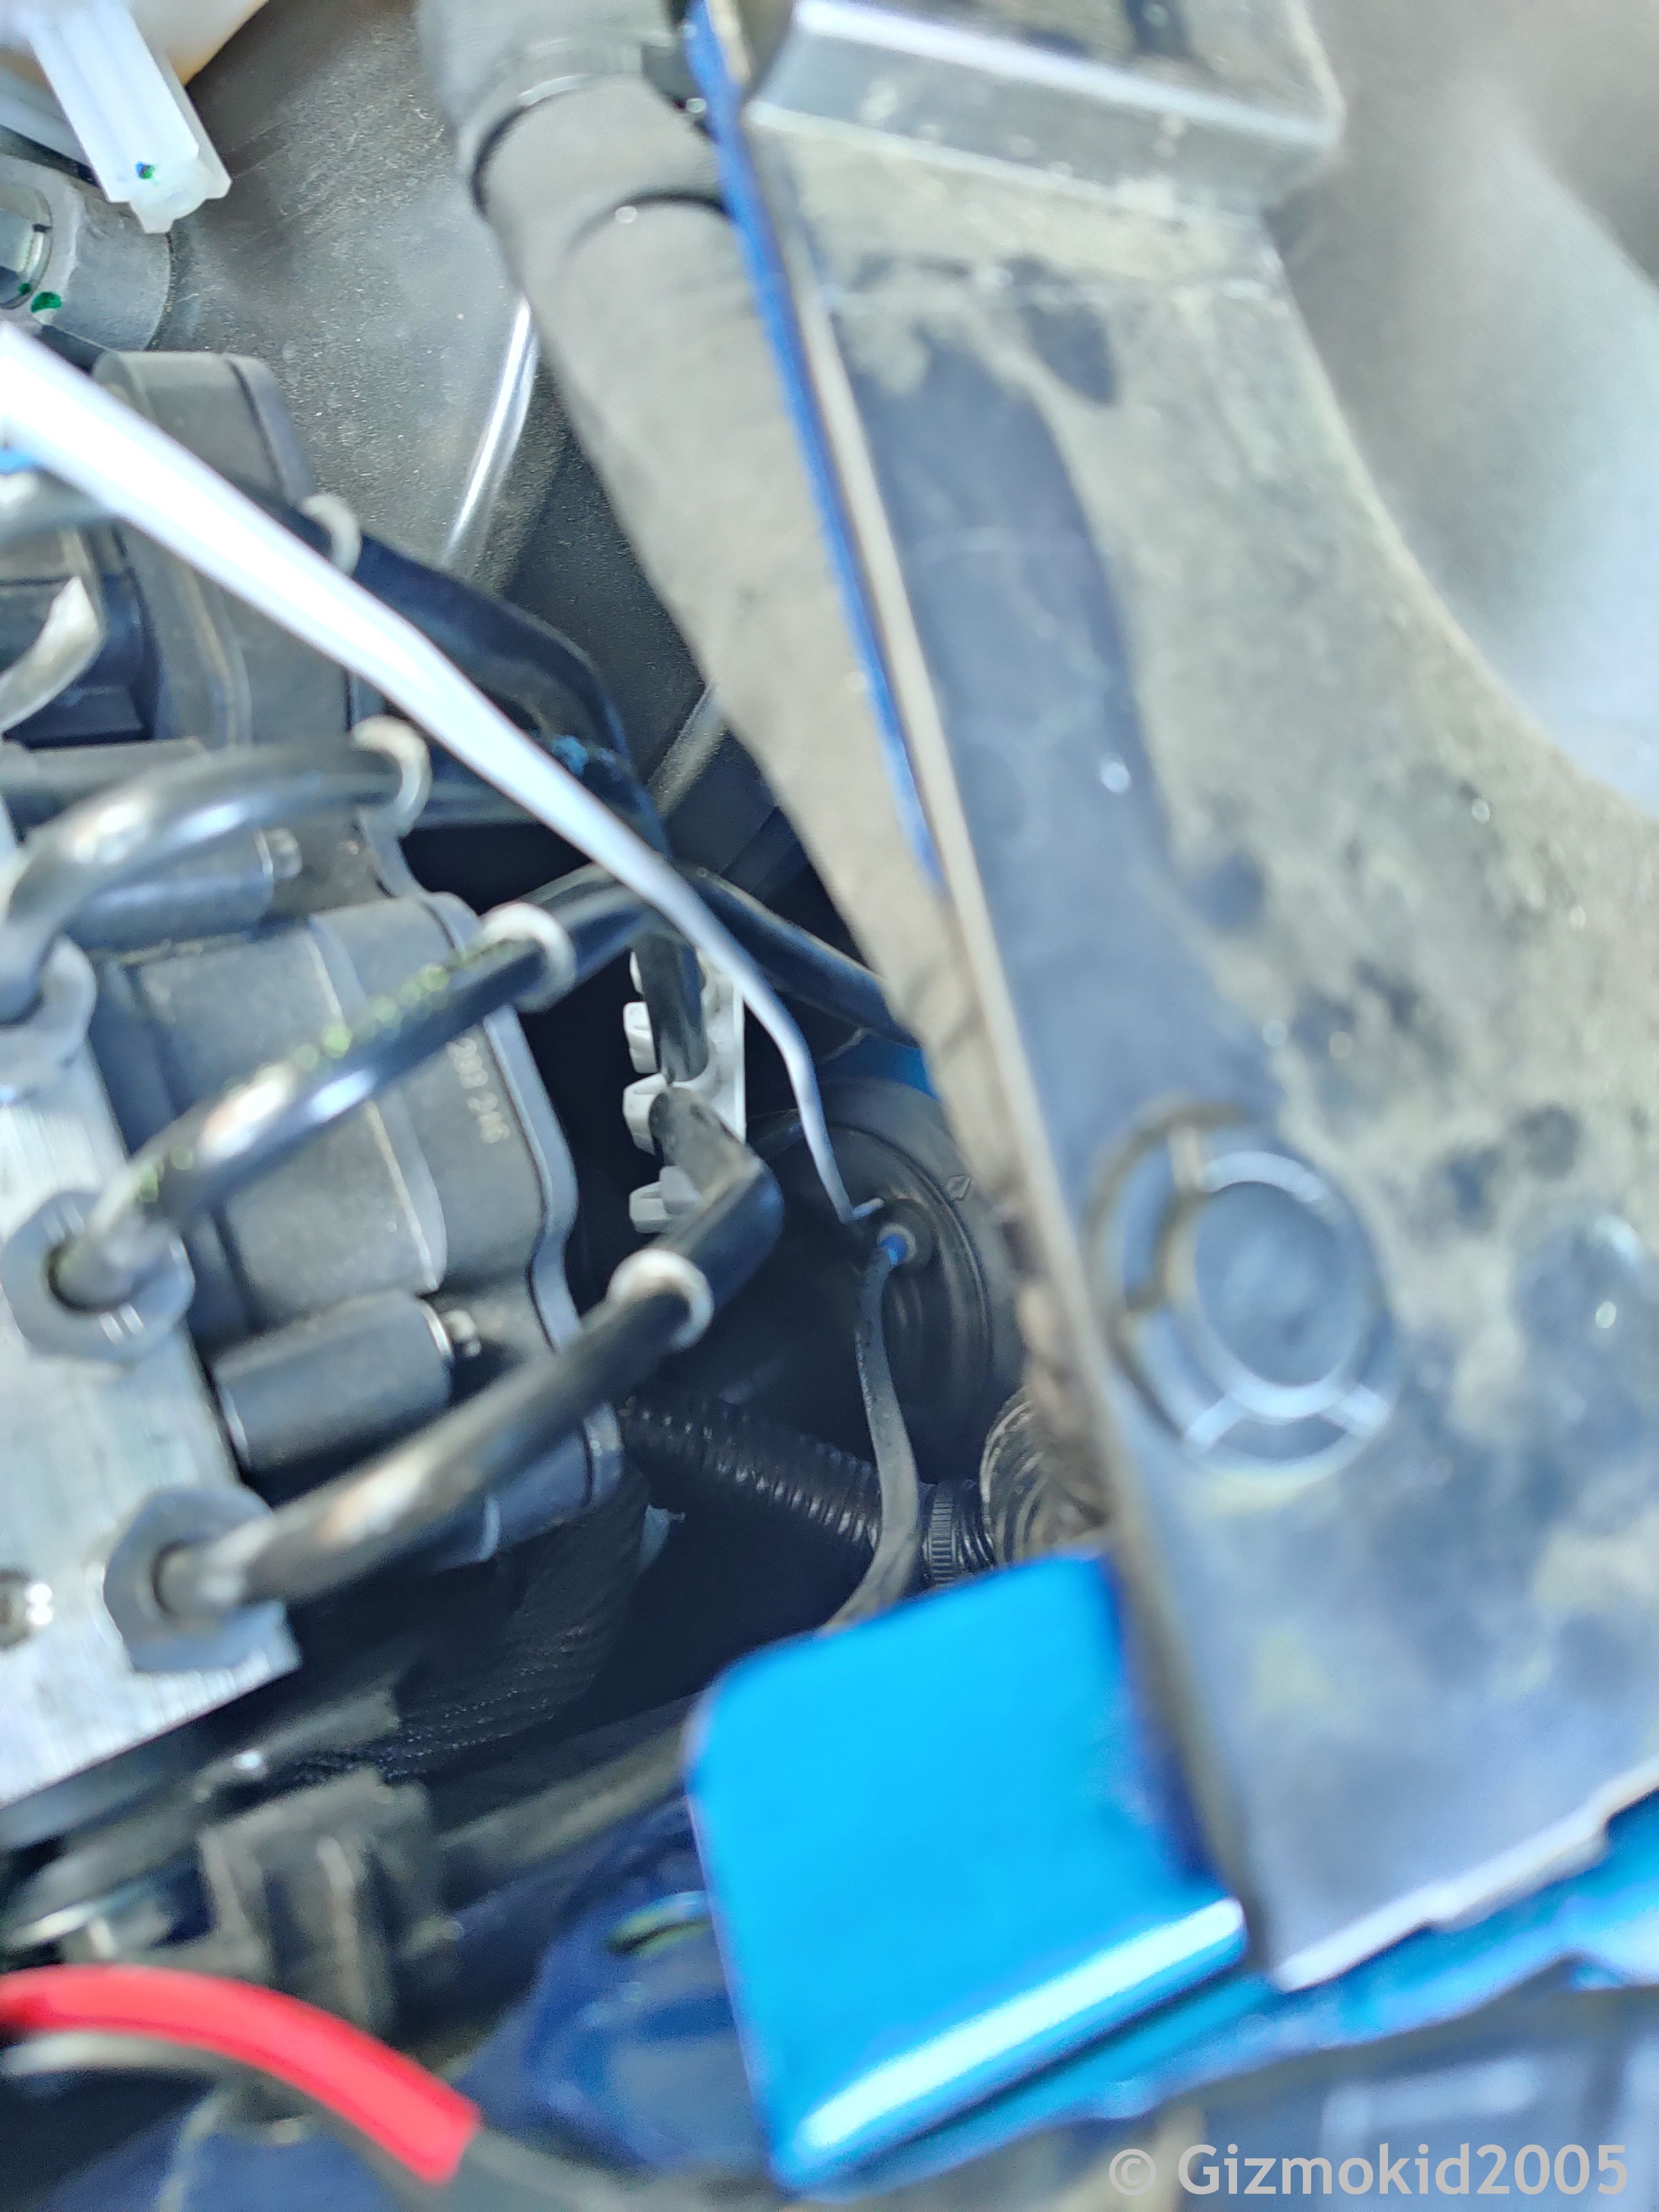
I wound up running the wiring for the relays into the cab through the grommet for the main harness and hood latch cable. I just used my Leatherman to cut through it and a wire coat hanger equivalent to fish the wire through and back. (This is not finished wiring)
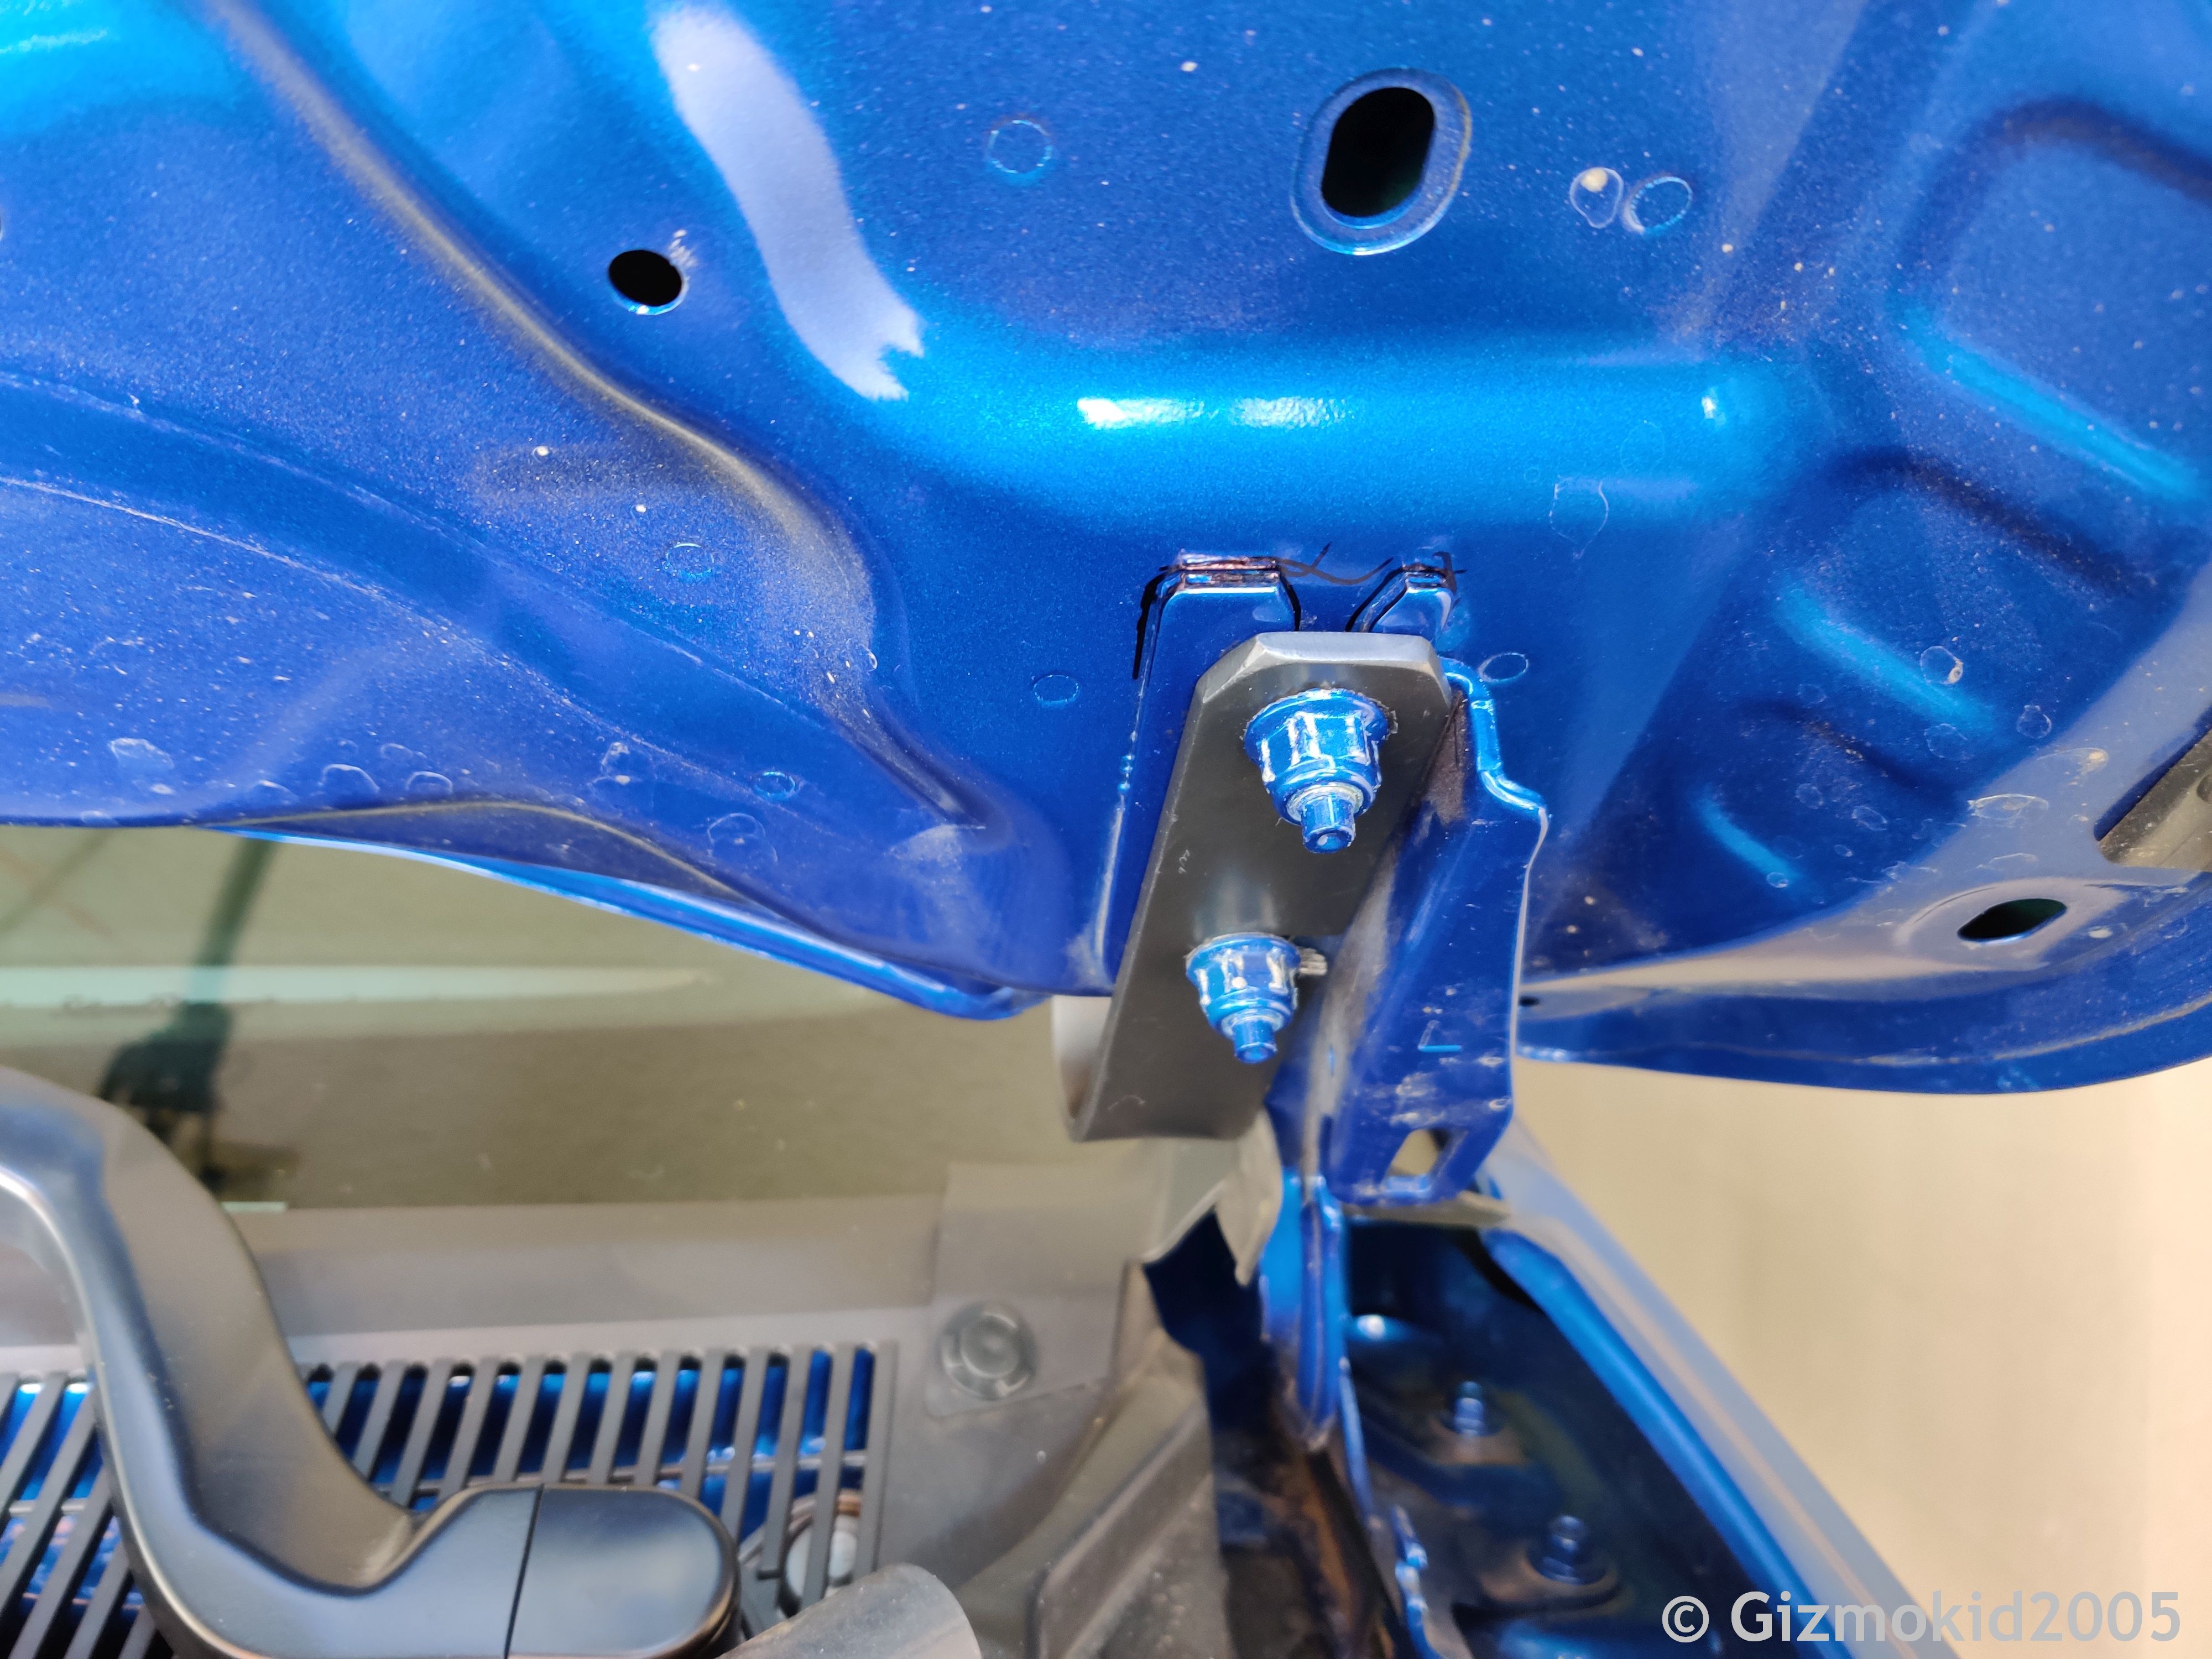
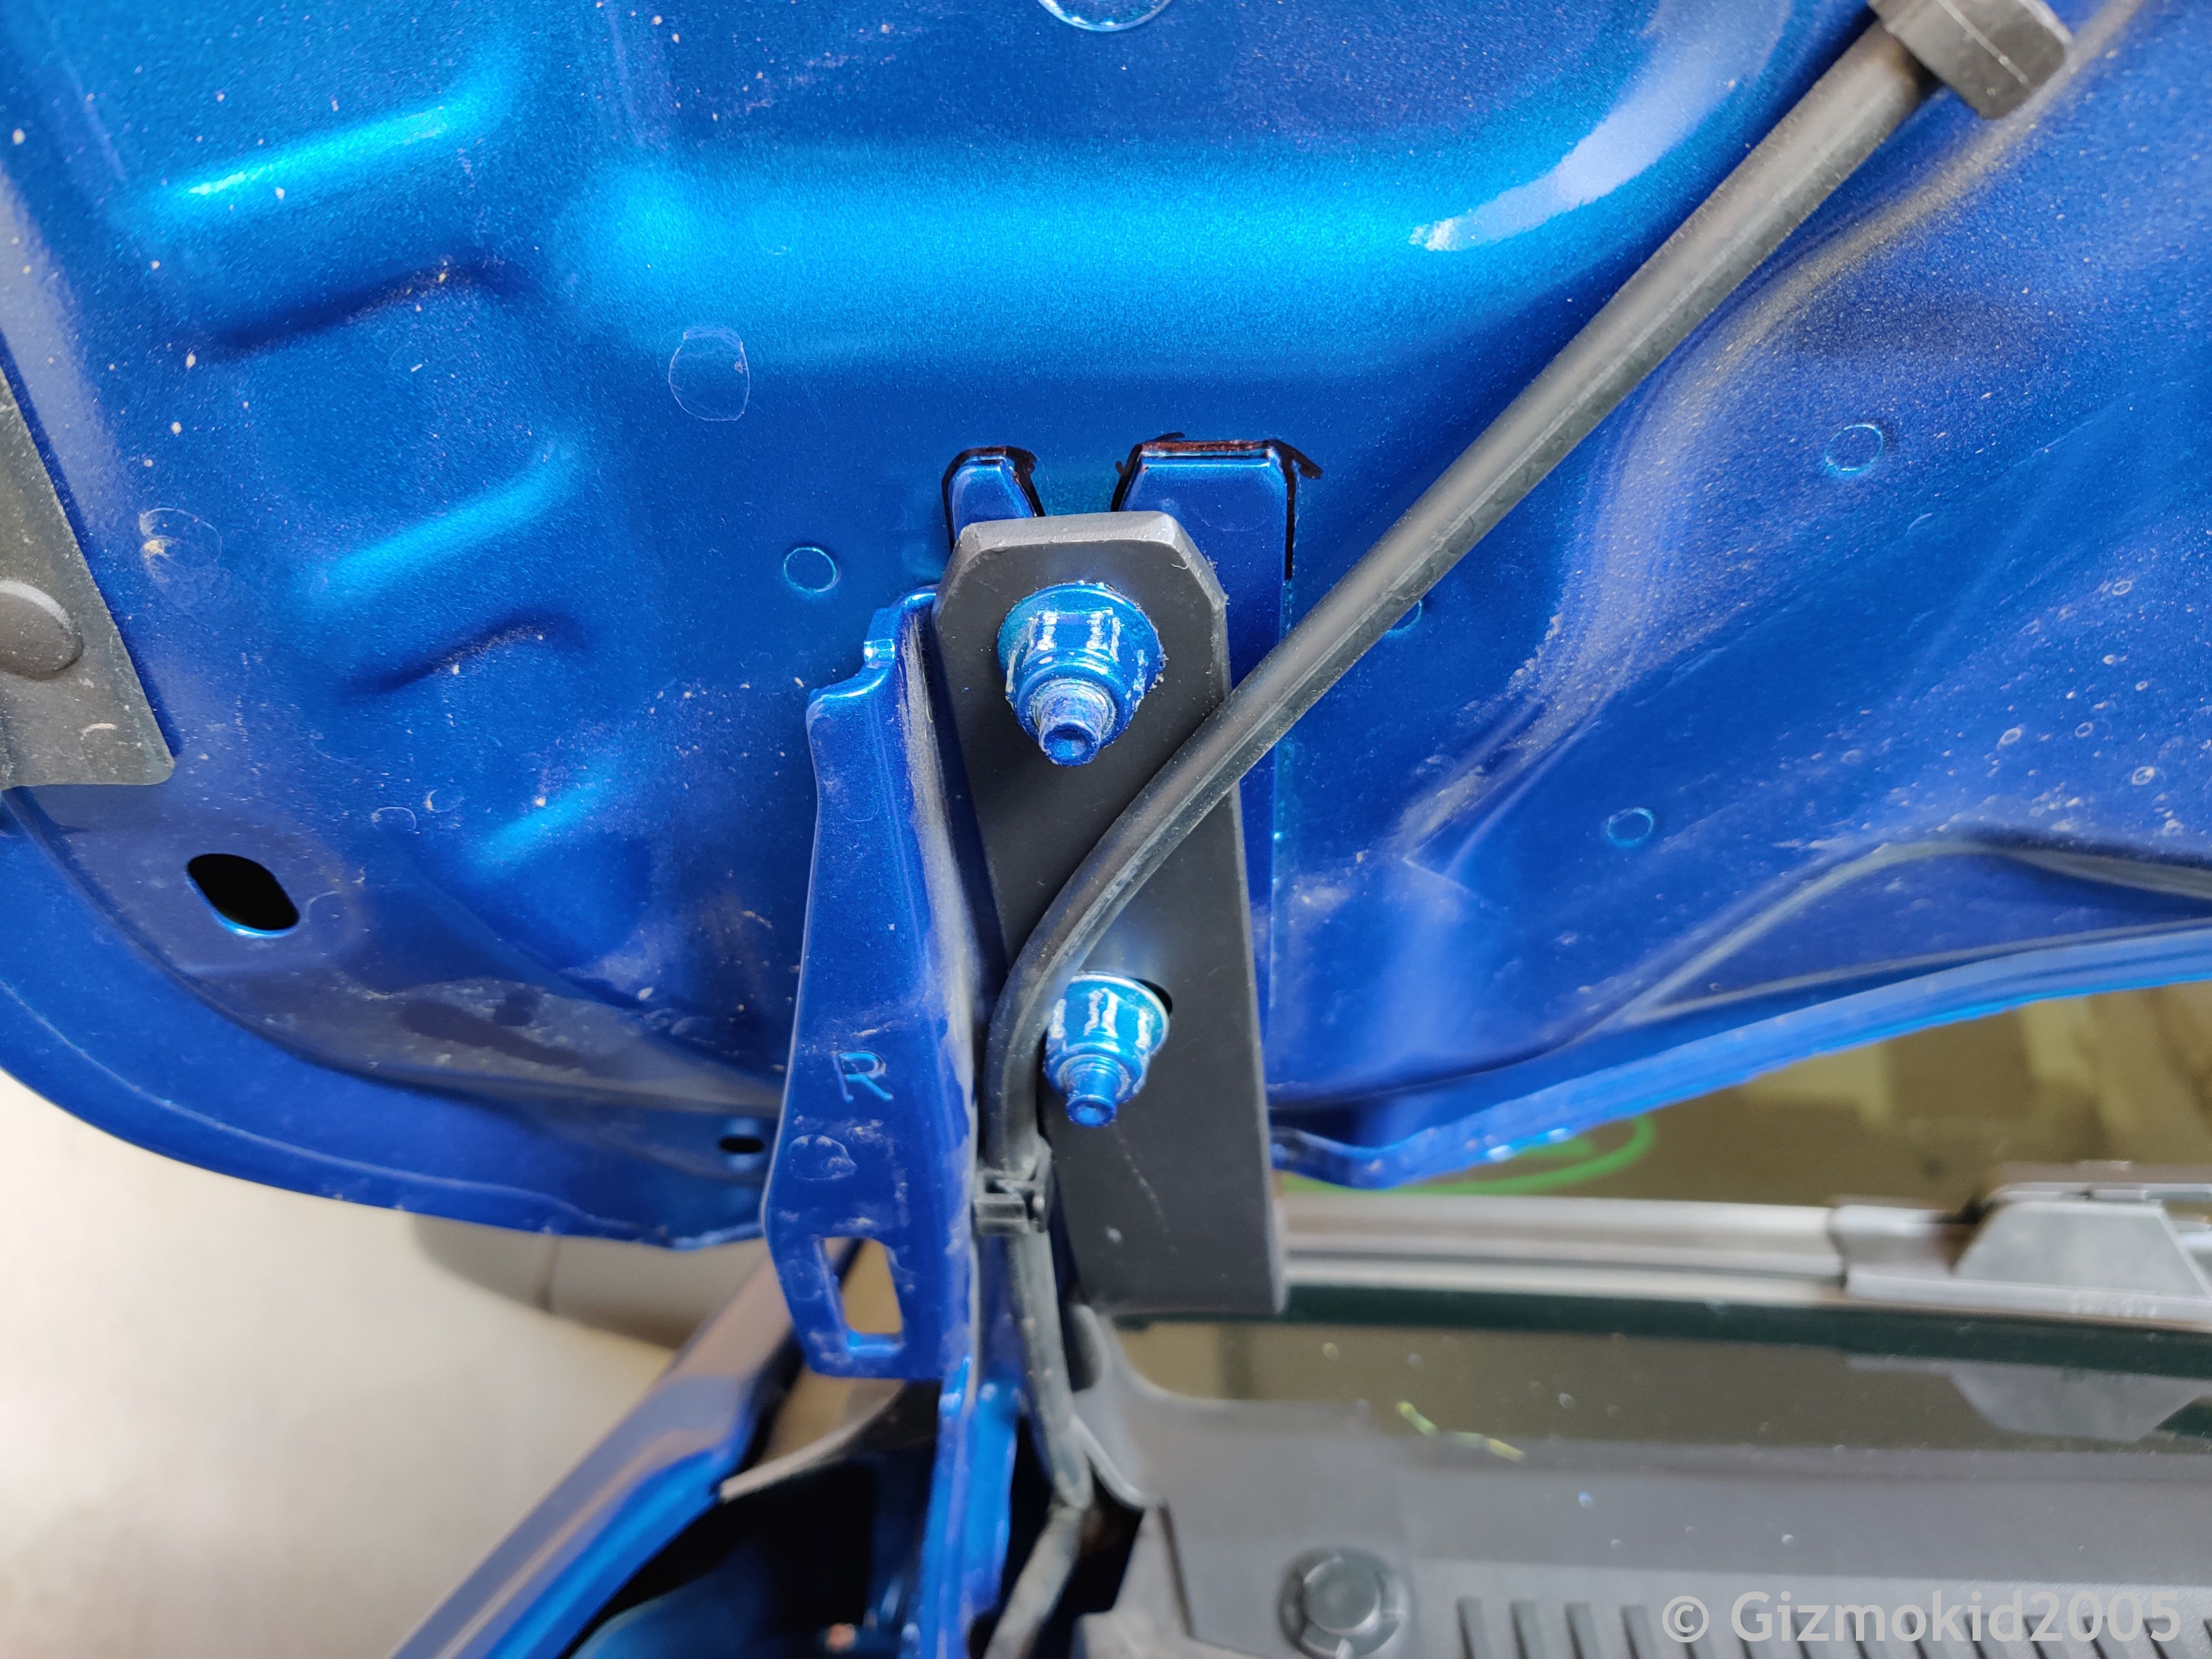
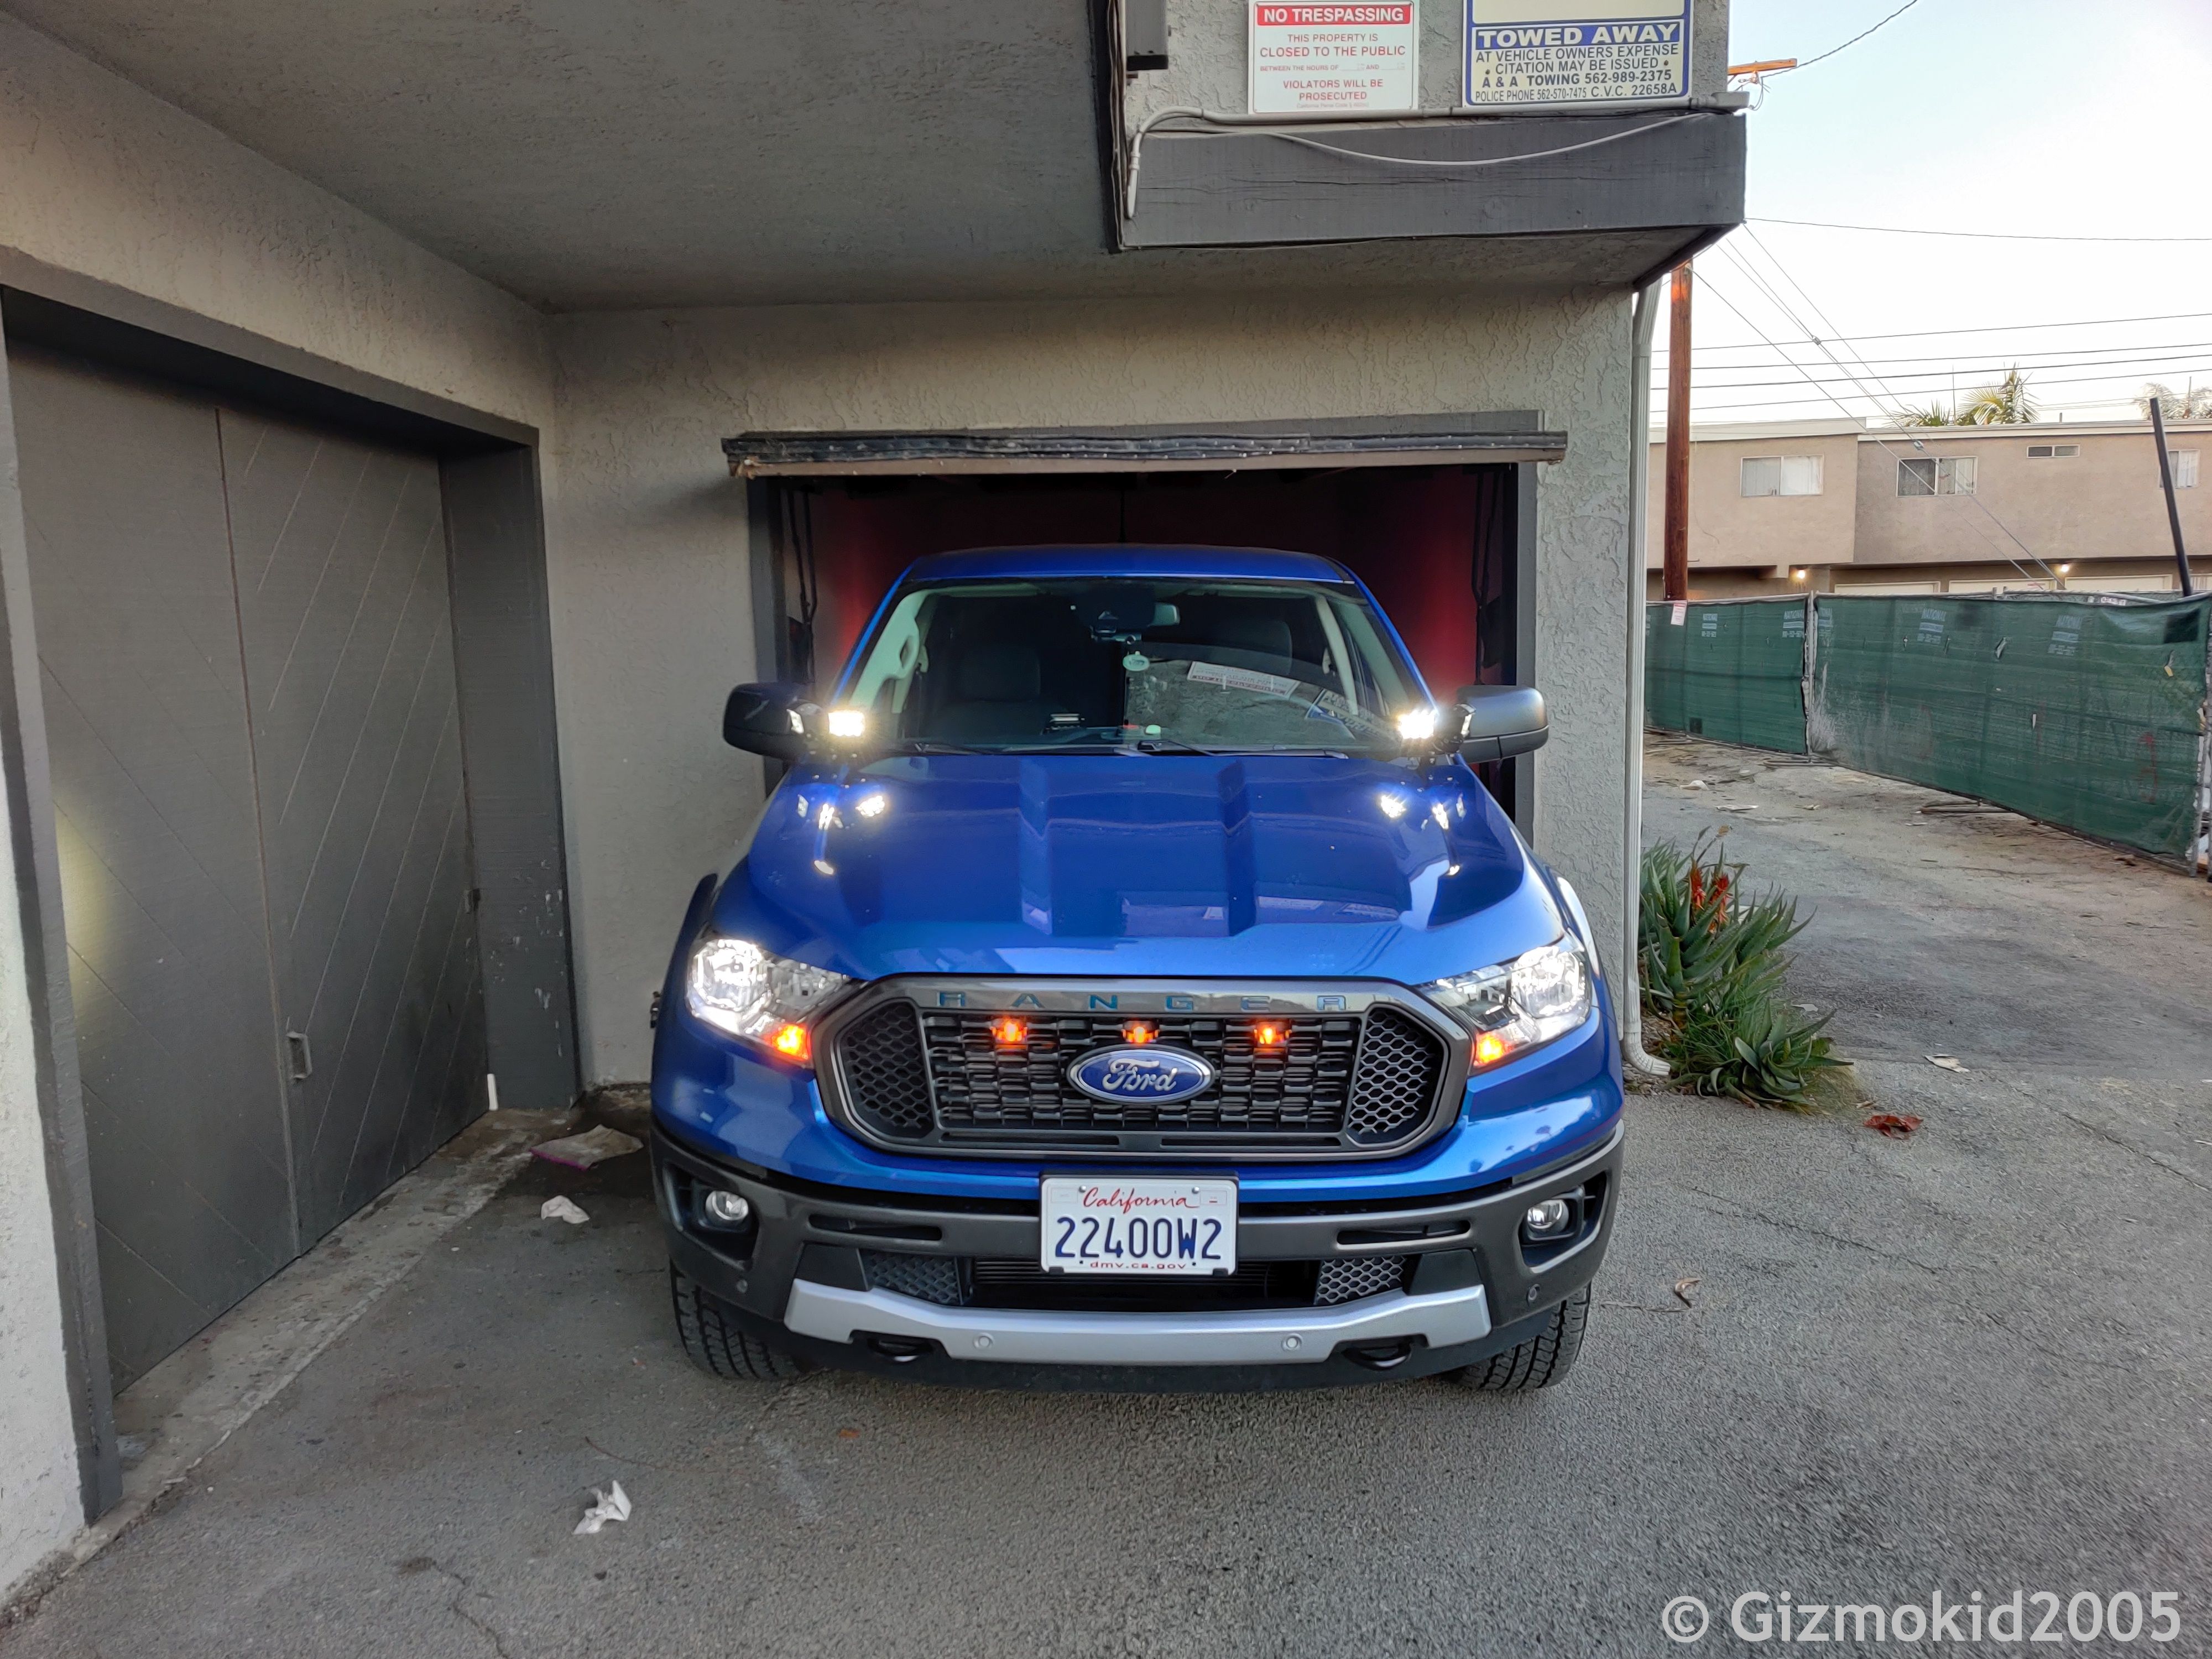
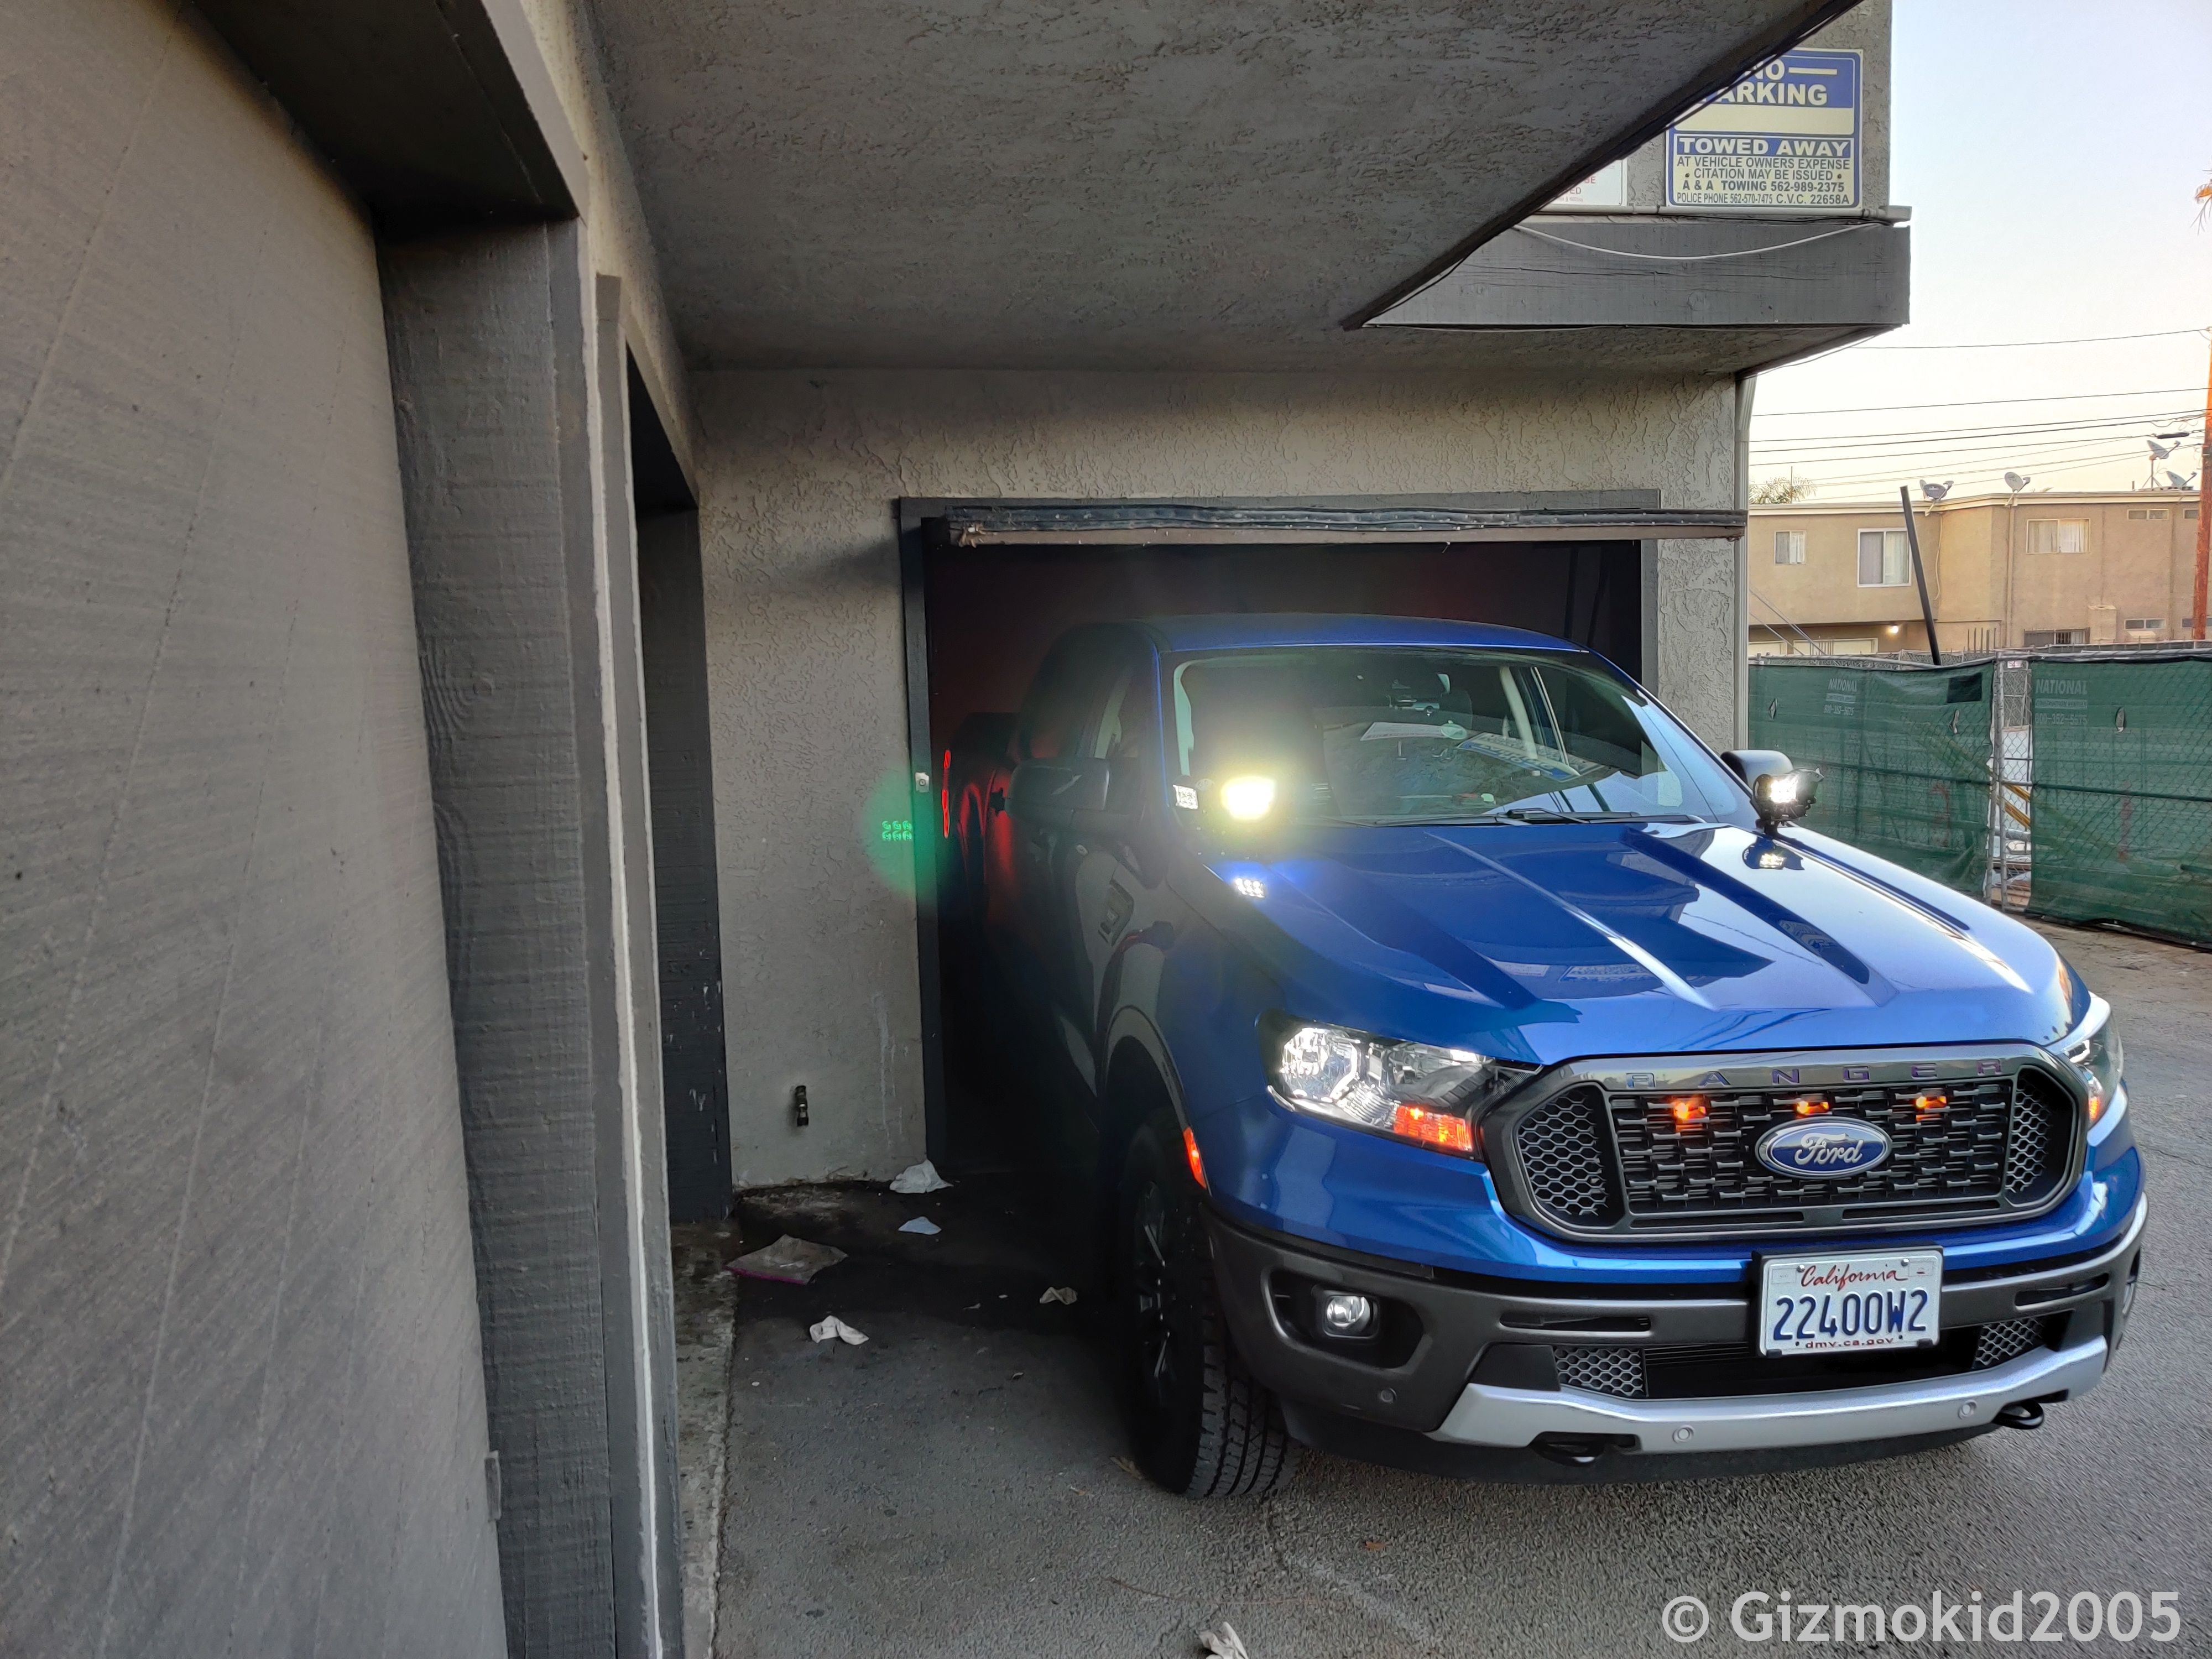
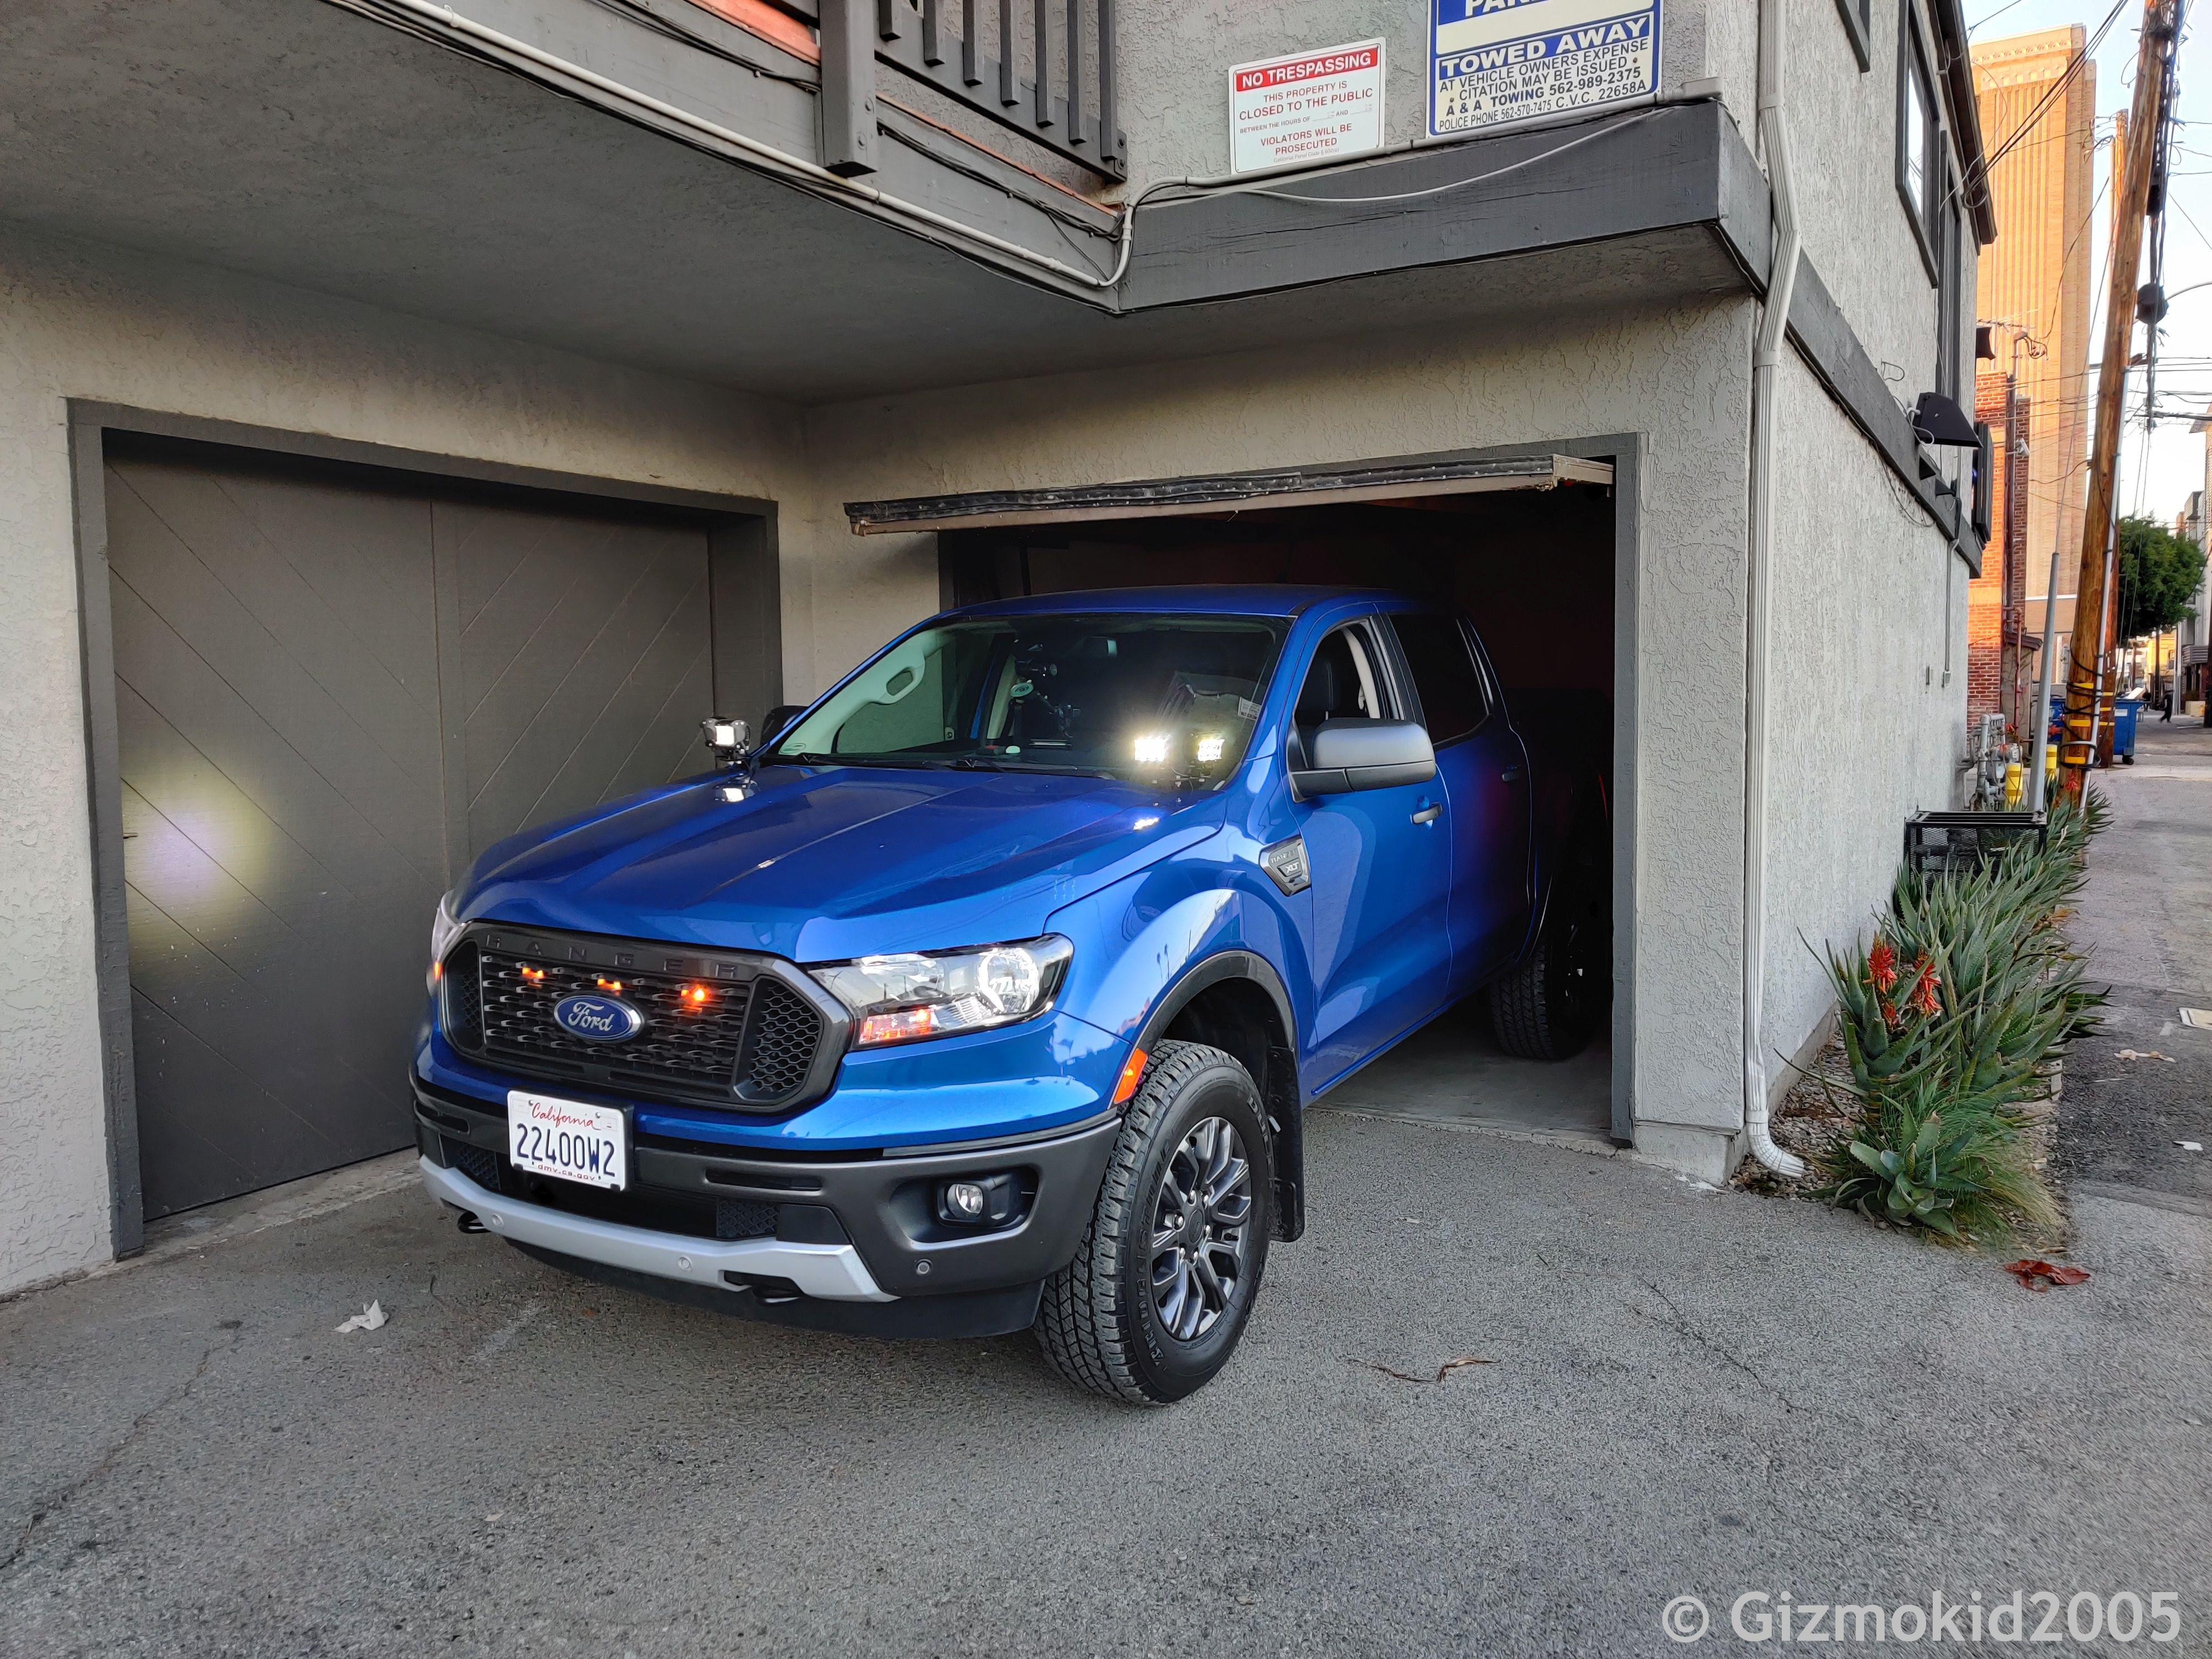
The brackets were pretty easy to mount to the hood, I used a permanent marker to tag where they sit before installation in case I needed to make any adjustments due to hood movement. The passenger's side doesn't fit quite as flush as the driver's side, but they still seem to be just fine (I suspect if I moved the plastic clip for the hose I could have gotten it tighter but am unconcerned with this).
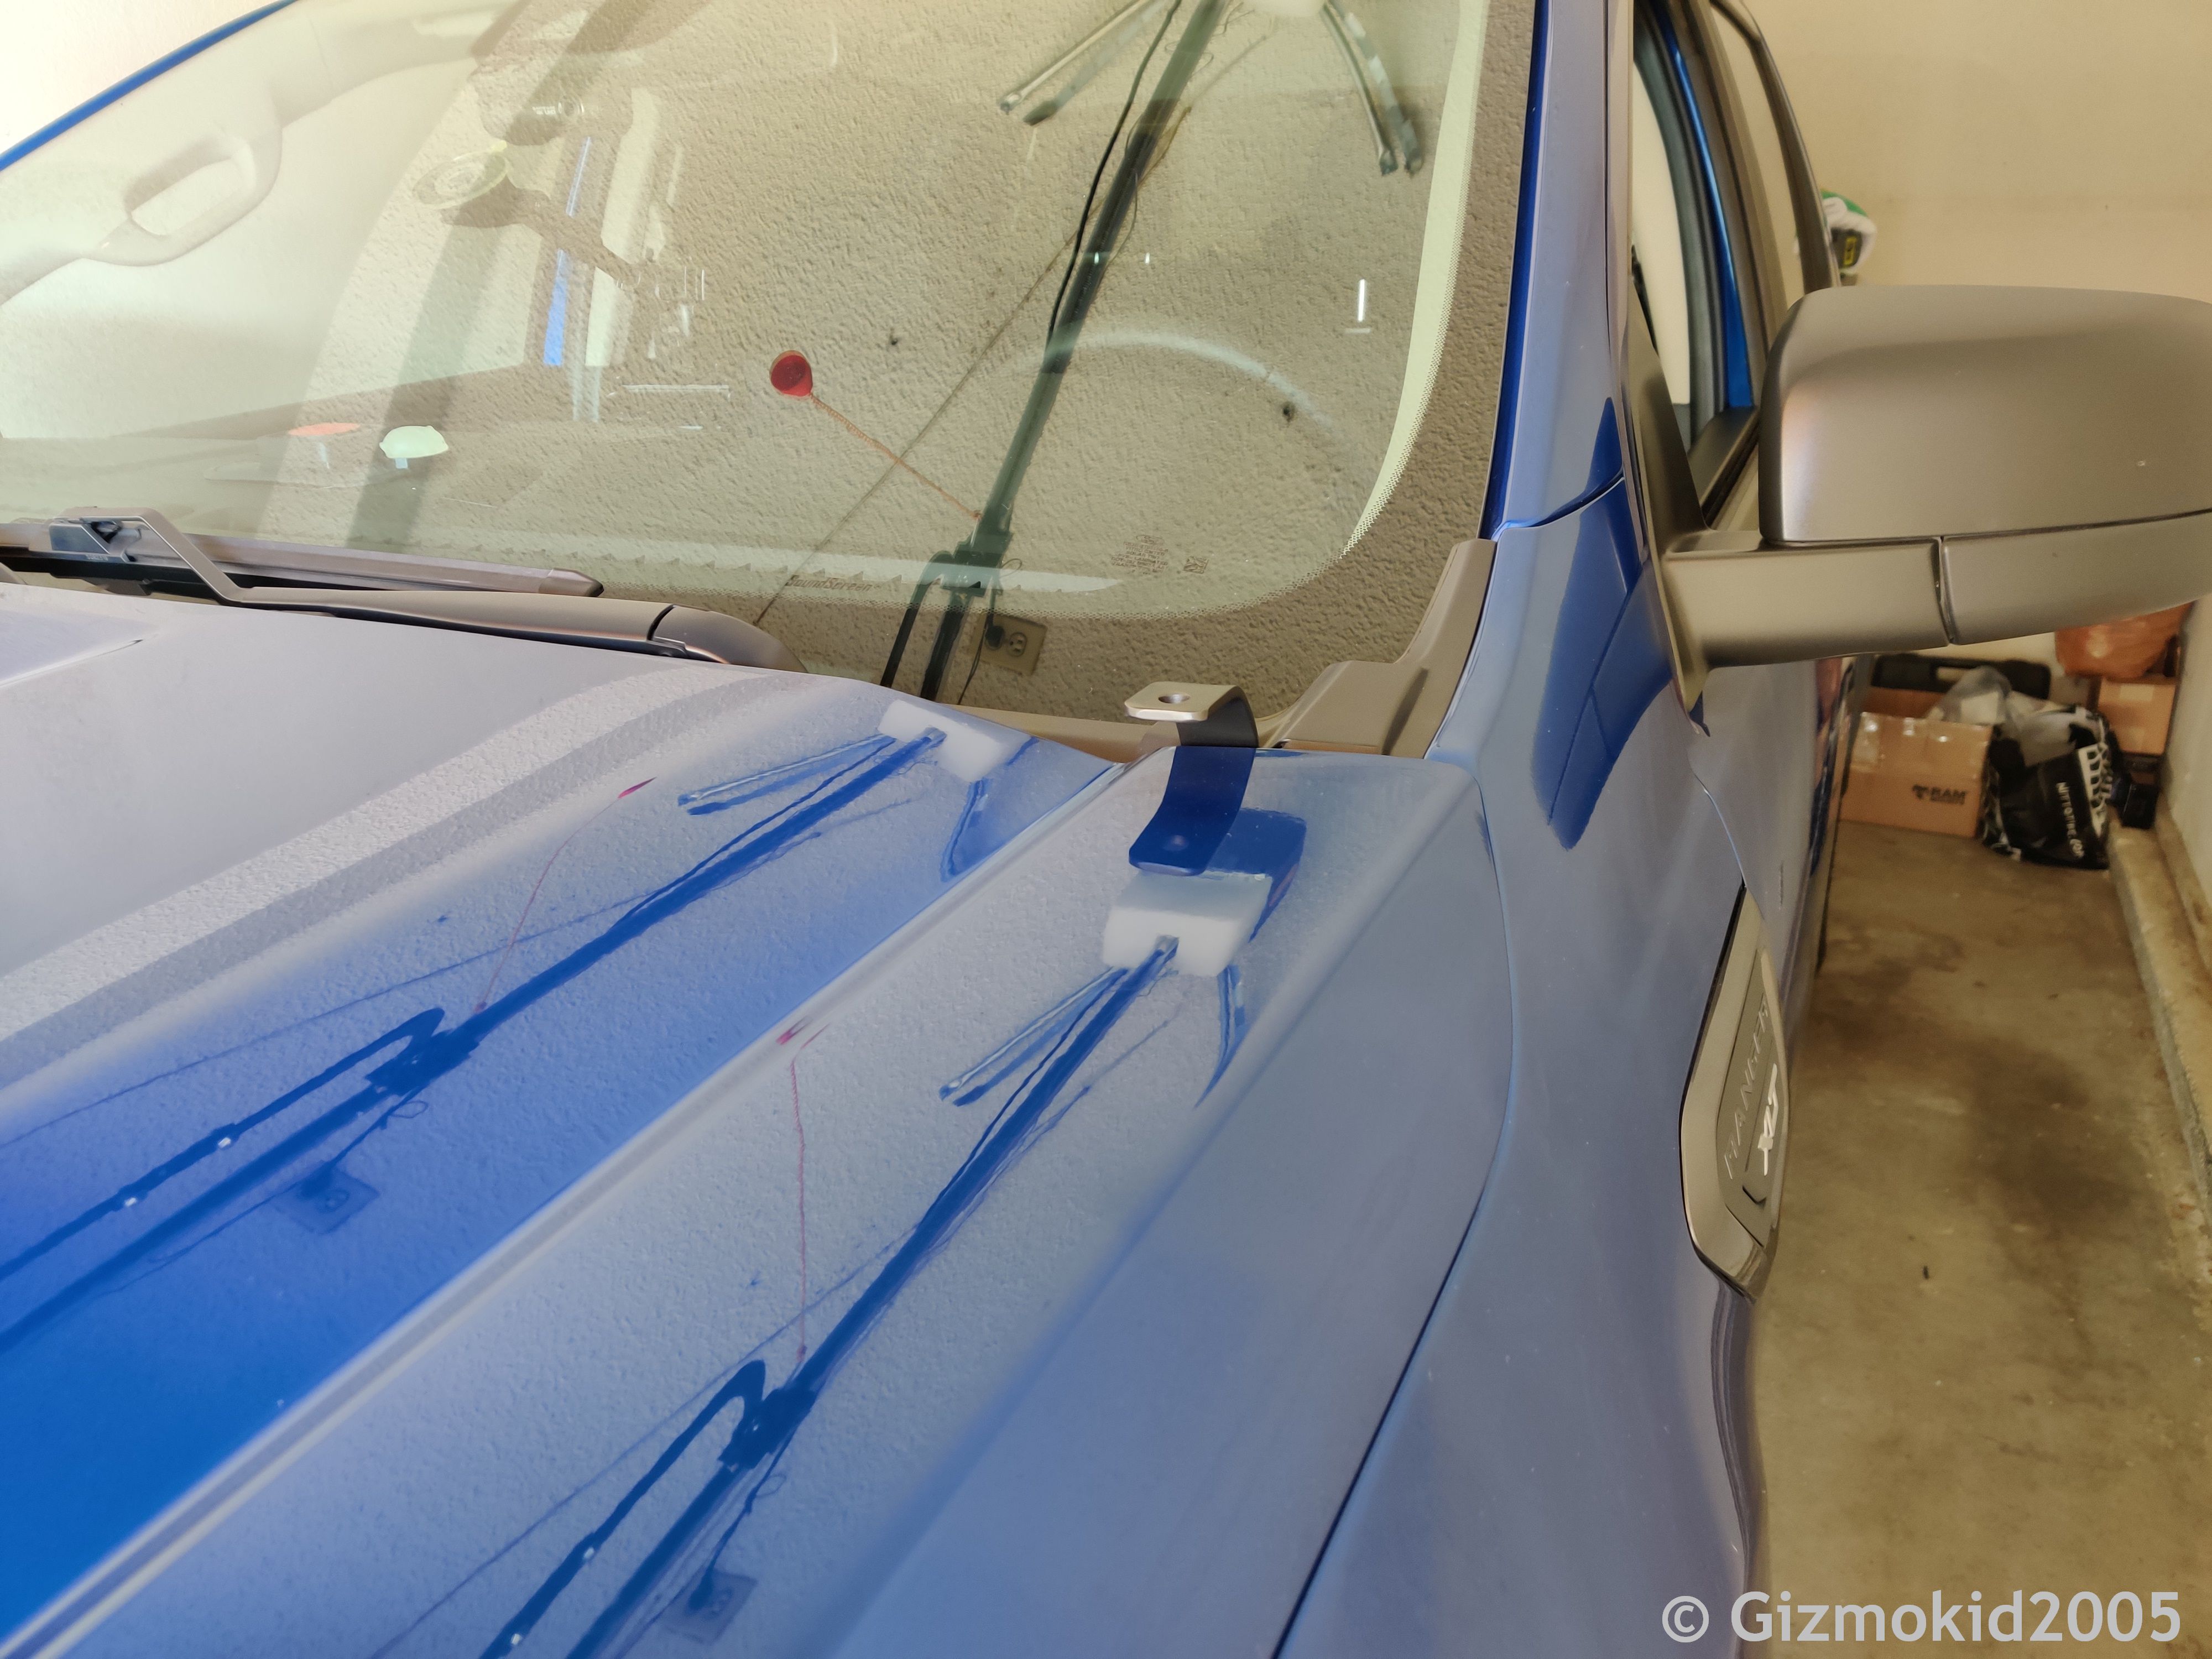
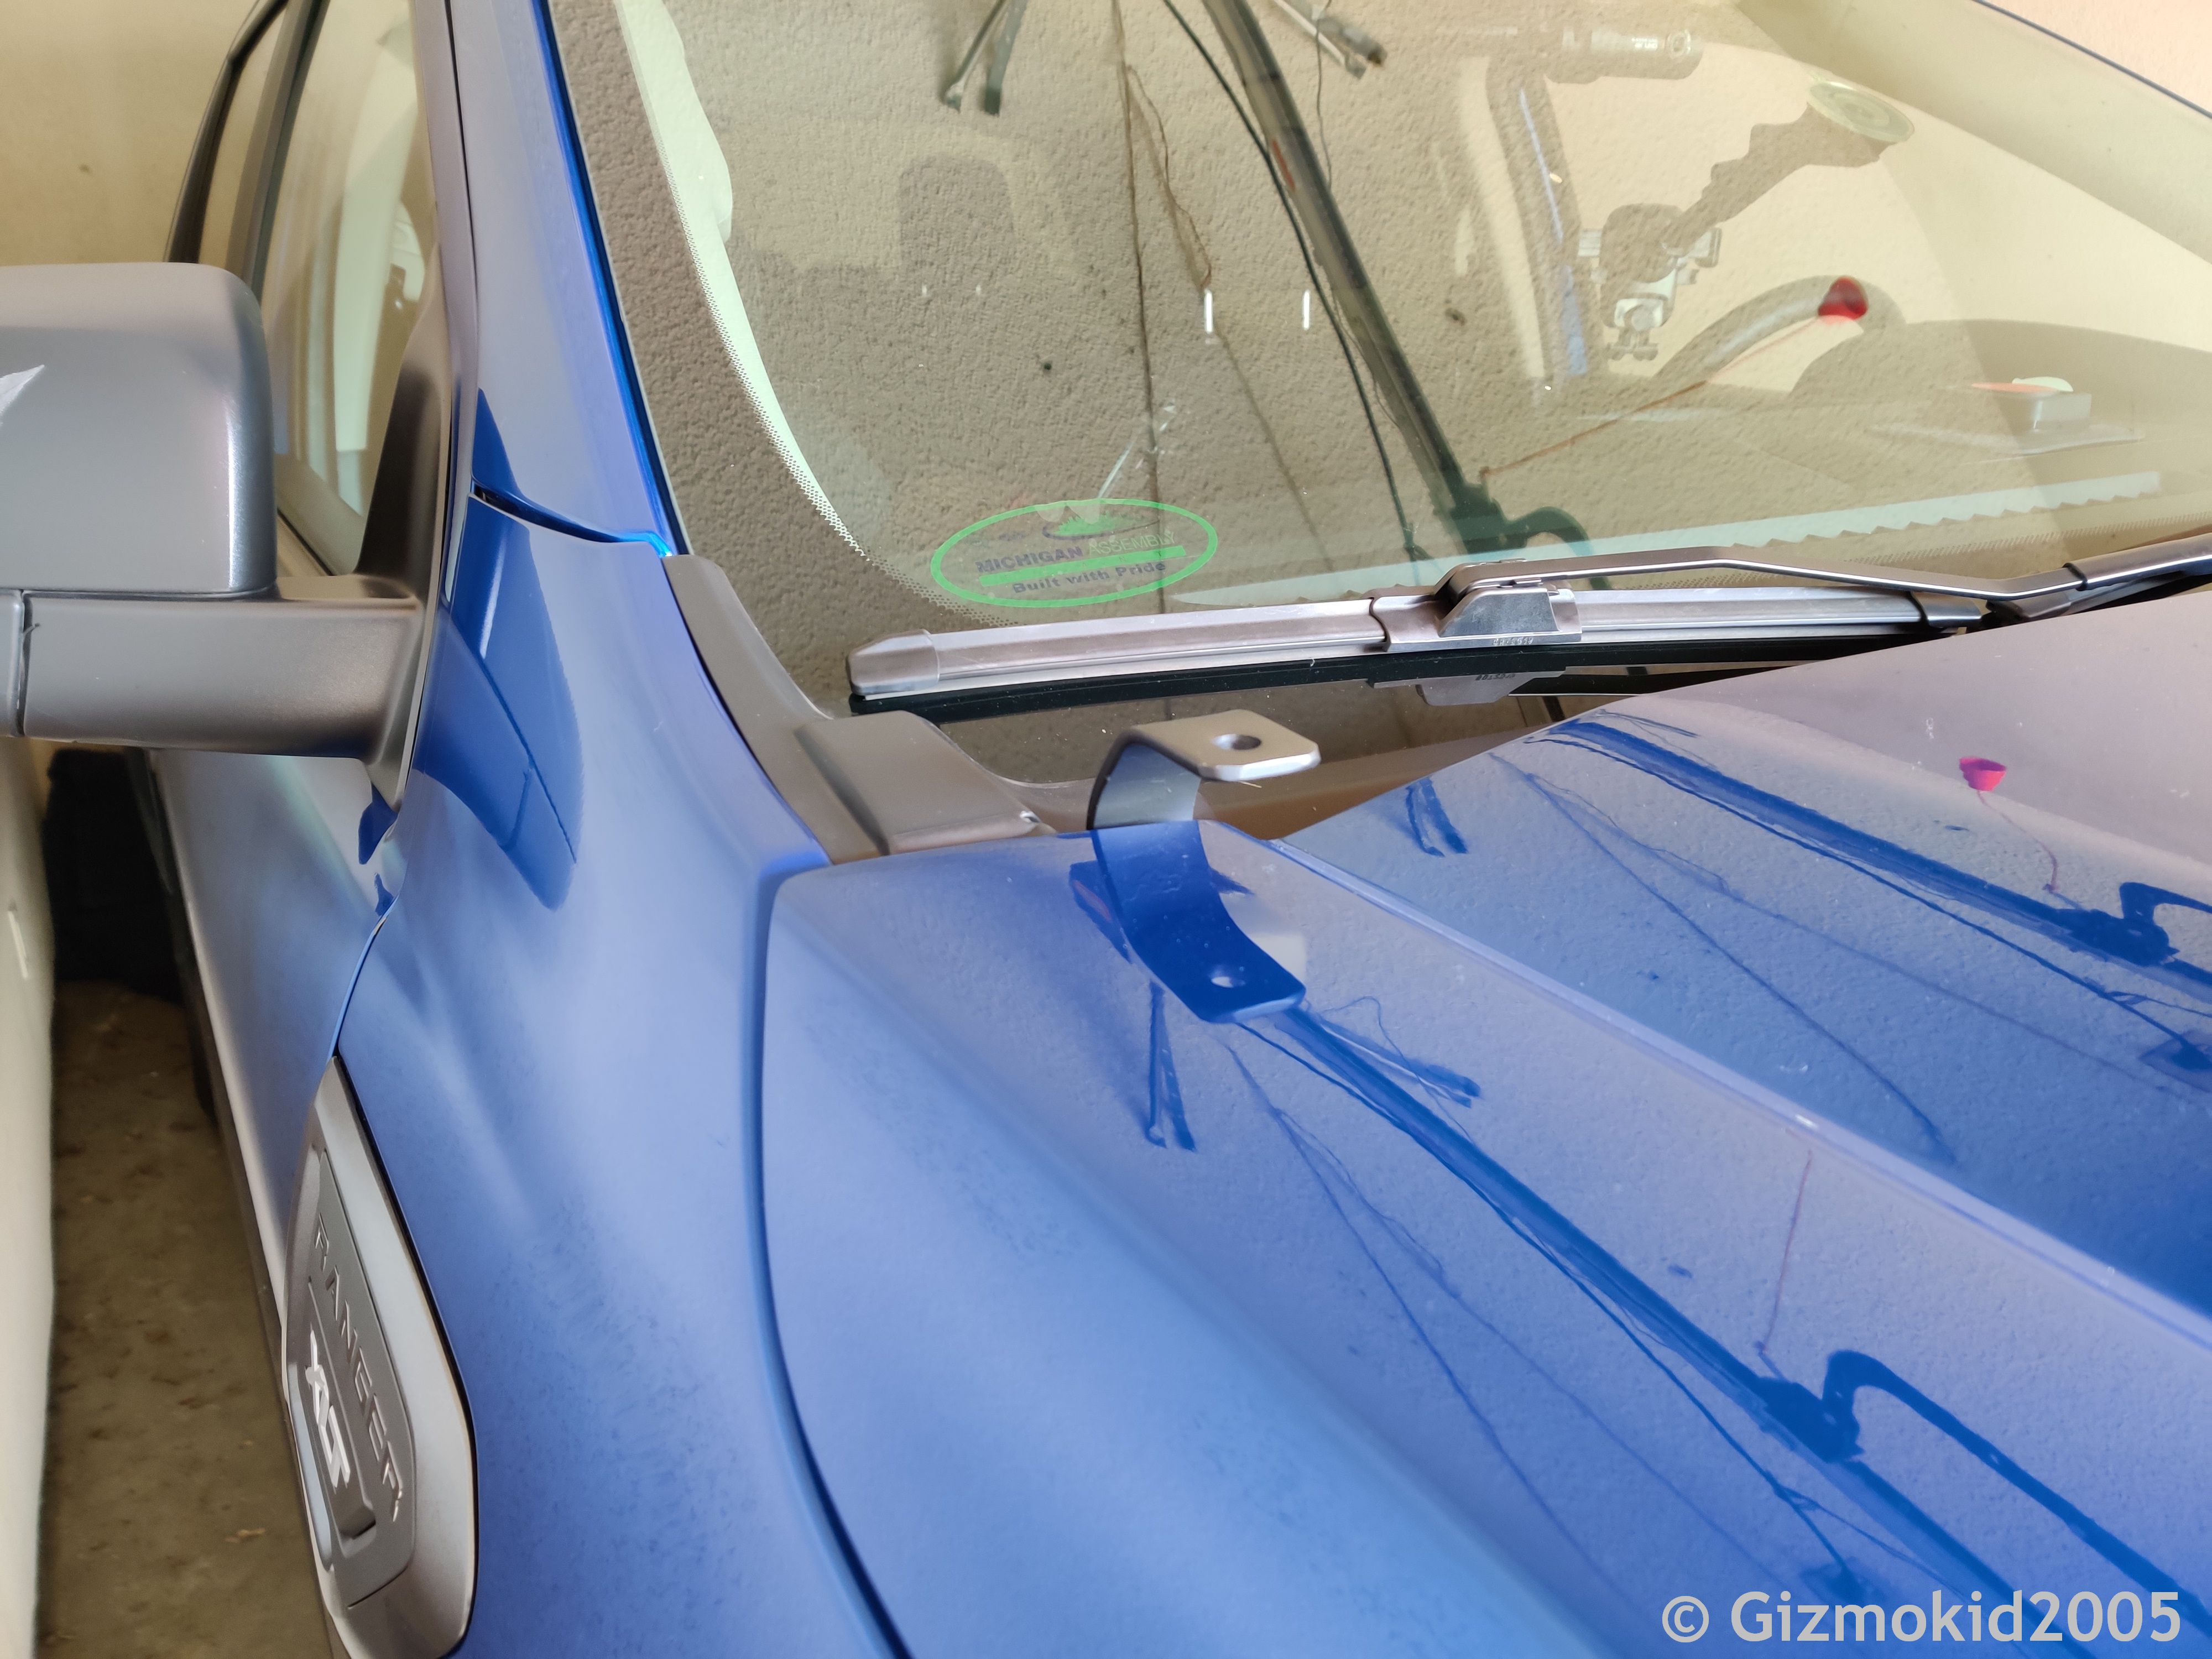
It took me a bit to get the lights attached to their brackets, then to the dual pods before getting them on these brackets. Tip for anyone who does similar, the dual pod brackets come with their own hardware, use that to mount lights to them and to the brackets, don't use any light-included hardware, mostly for clearance concerns.

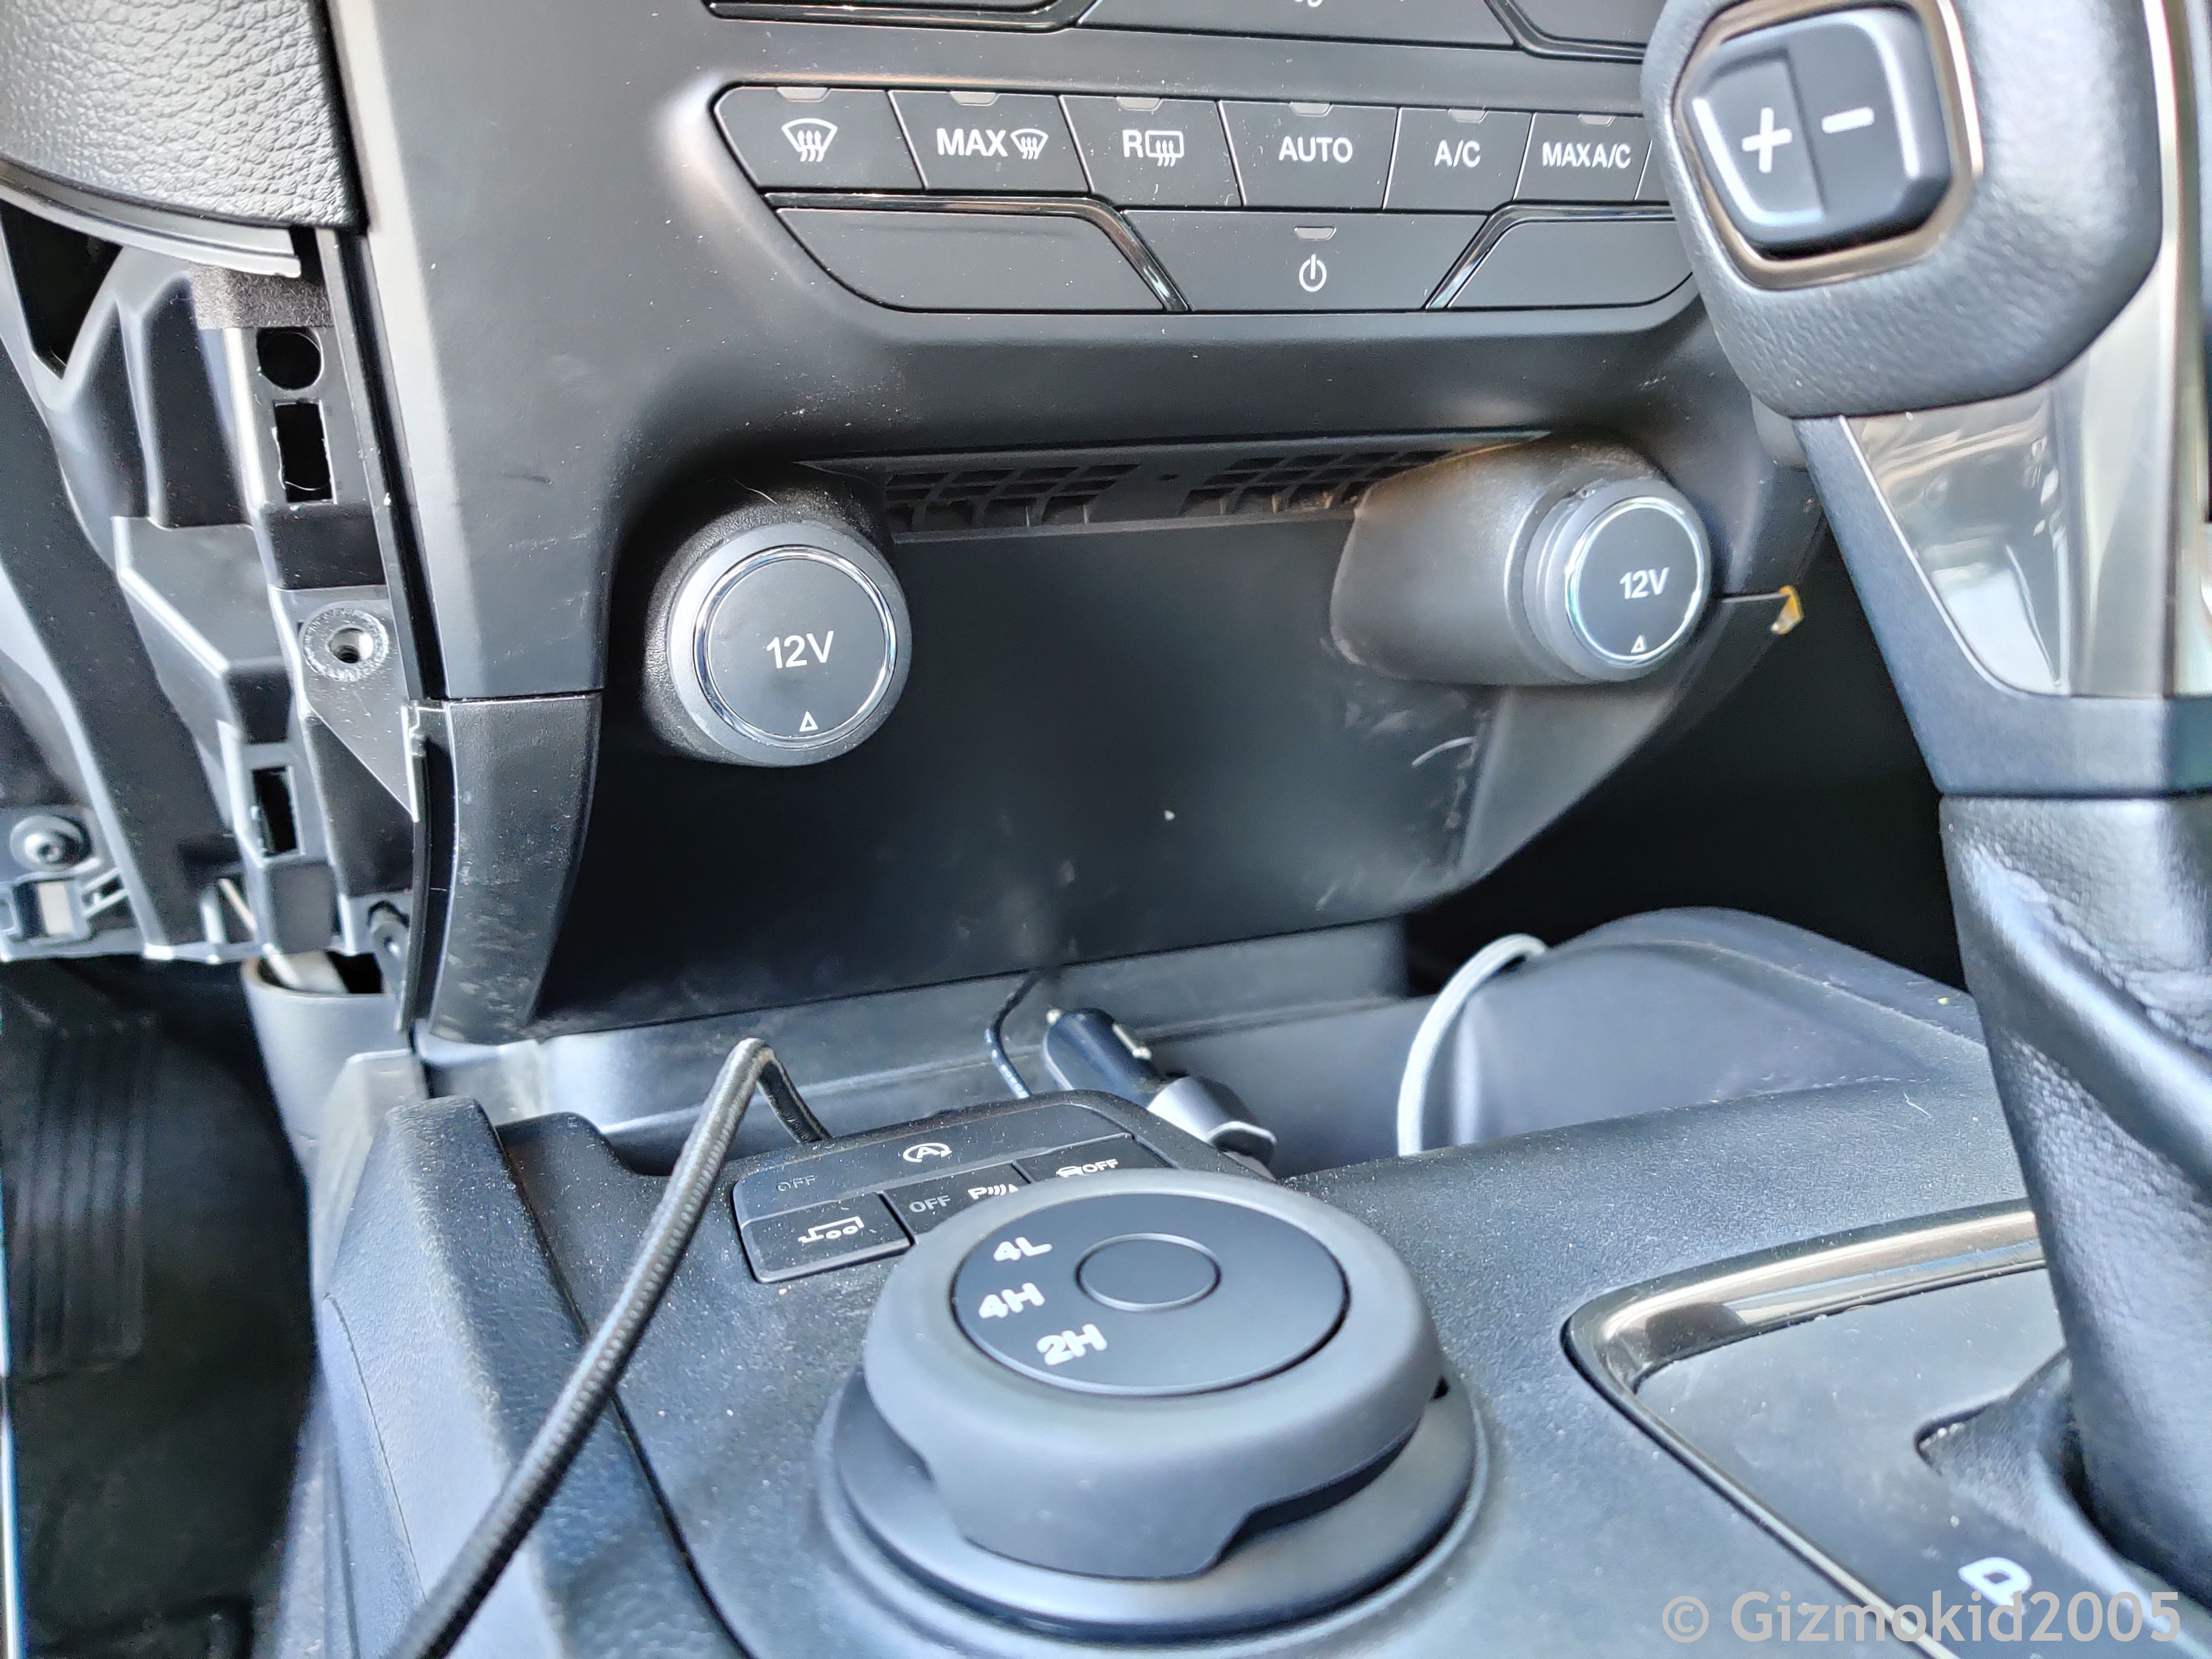
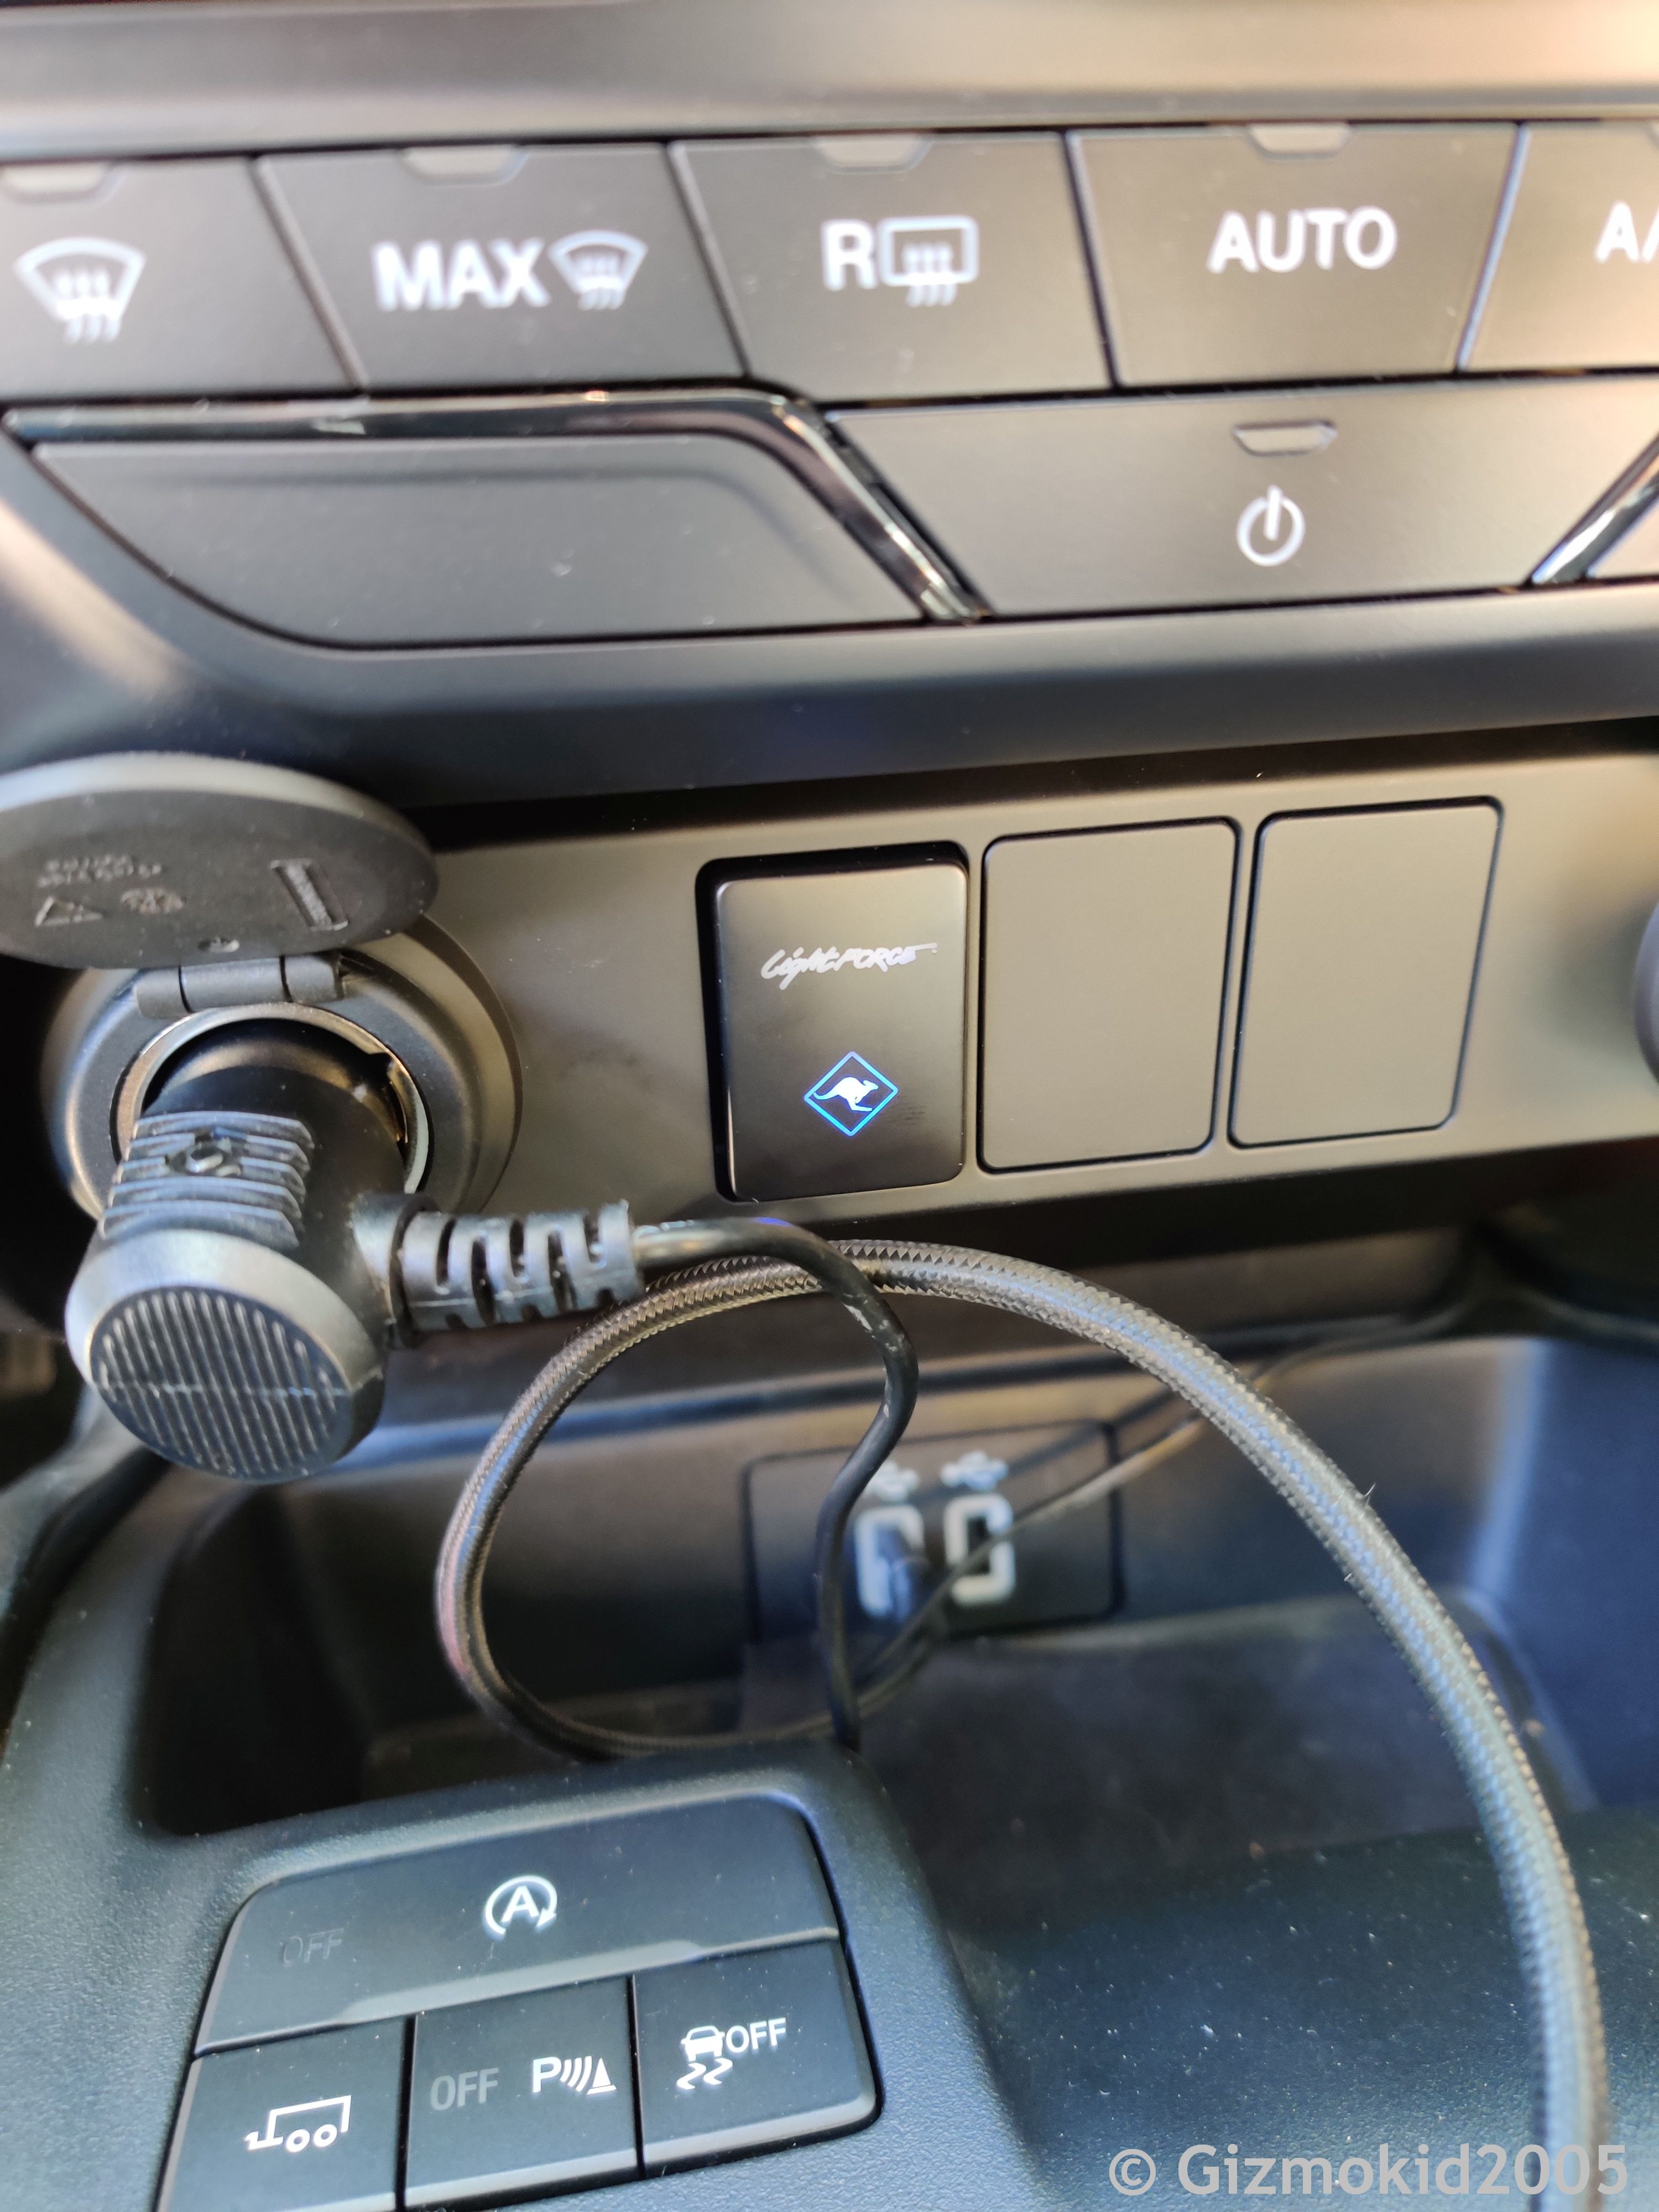
The interior install for the Lightforce fascia was really very easy, except for getting the cigarette lighters out of the holders they were in. I nearly broke one of them multiple times and it took me almost 10 minutes to get them out alone. The rest of it was a piece of cake. (Old vs New and daytime pictures powered but off and powered and on)

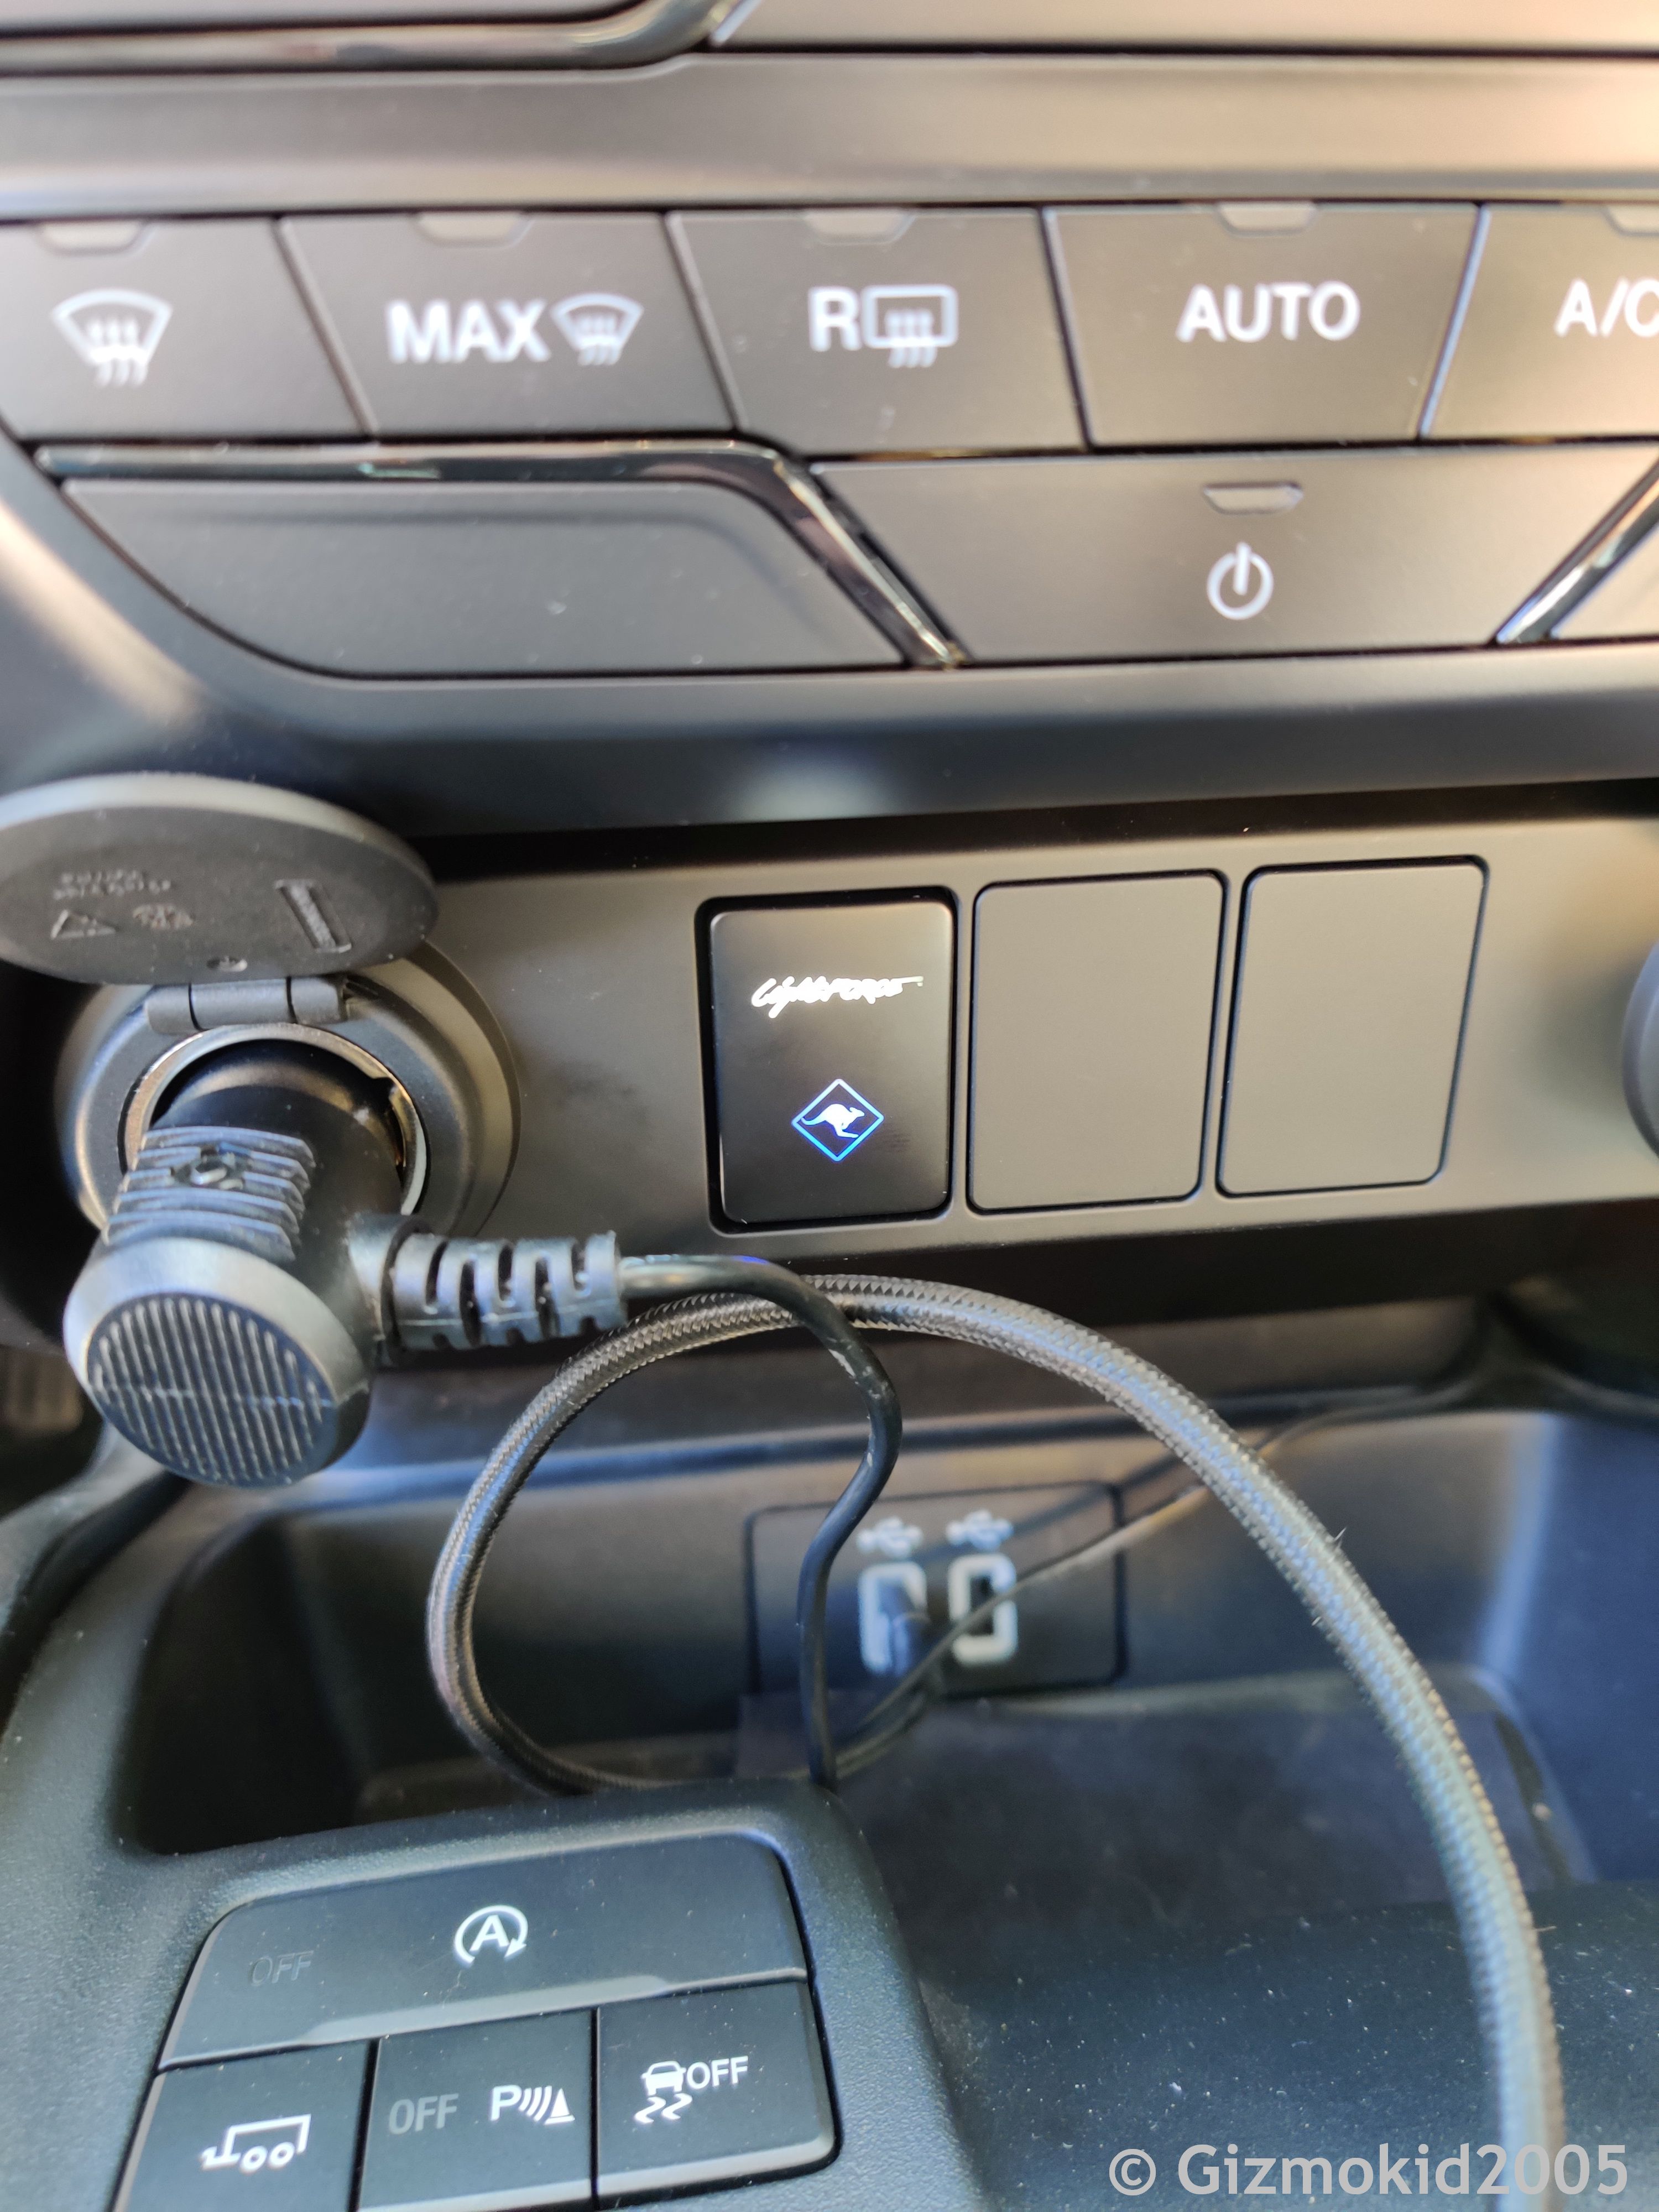
These were the original lights that were installed and how they were aimed. I've since updated the aim on the lighting as well as changed the pods I'm using to a spot/flood combination. They will get upgrades to some higher quality pods later.
I added a ground right above the gas pedal for the switch and I used Passenger fuse compartment #37 to put in the fuse TAP to wire to the switch power and the main power relay.
-Michael